How to Buy a Classic Car
While there are a lot of great classic cars on the market, some may need a little - or A LOT - of work before they’re considered “roadworthy.” So before you lock yourself into a bad buy, use this guide to learn how to buy a classic car that will be a pleasure to restore and drive on the warm roads ahead.Decide on the Make and Model of Your Dream Vehicle
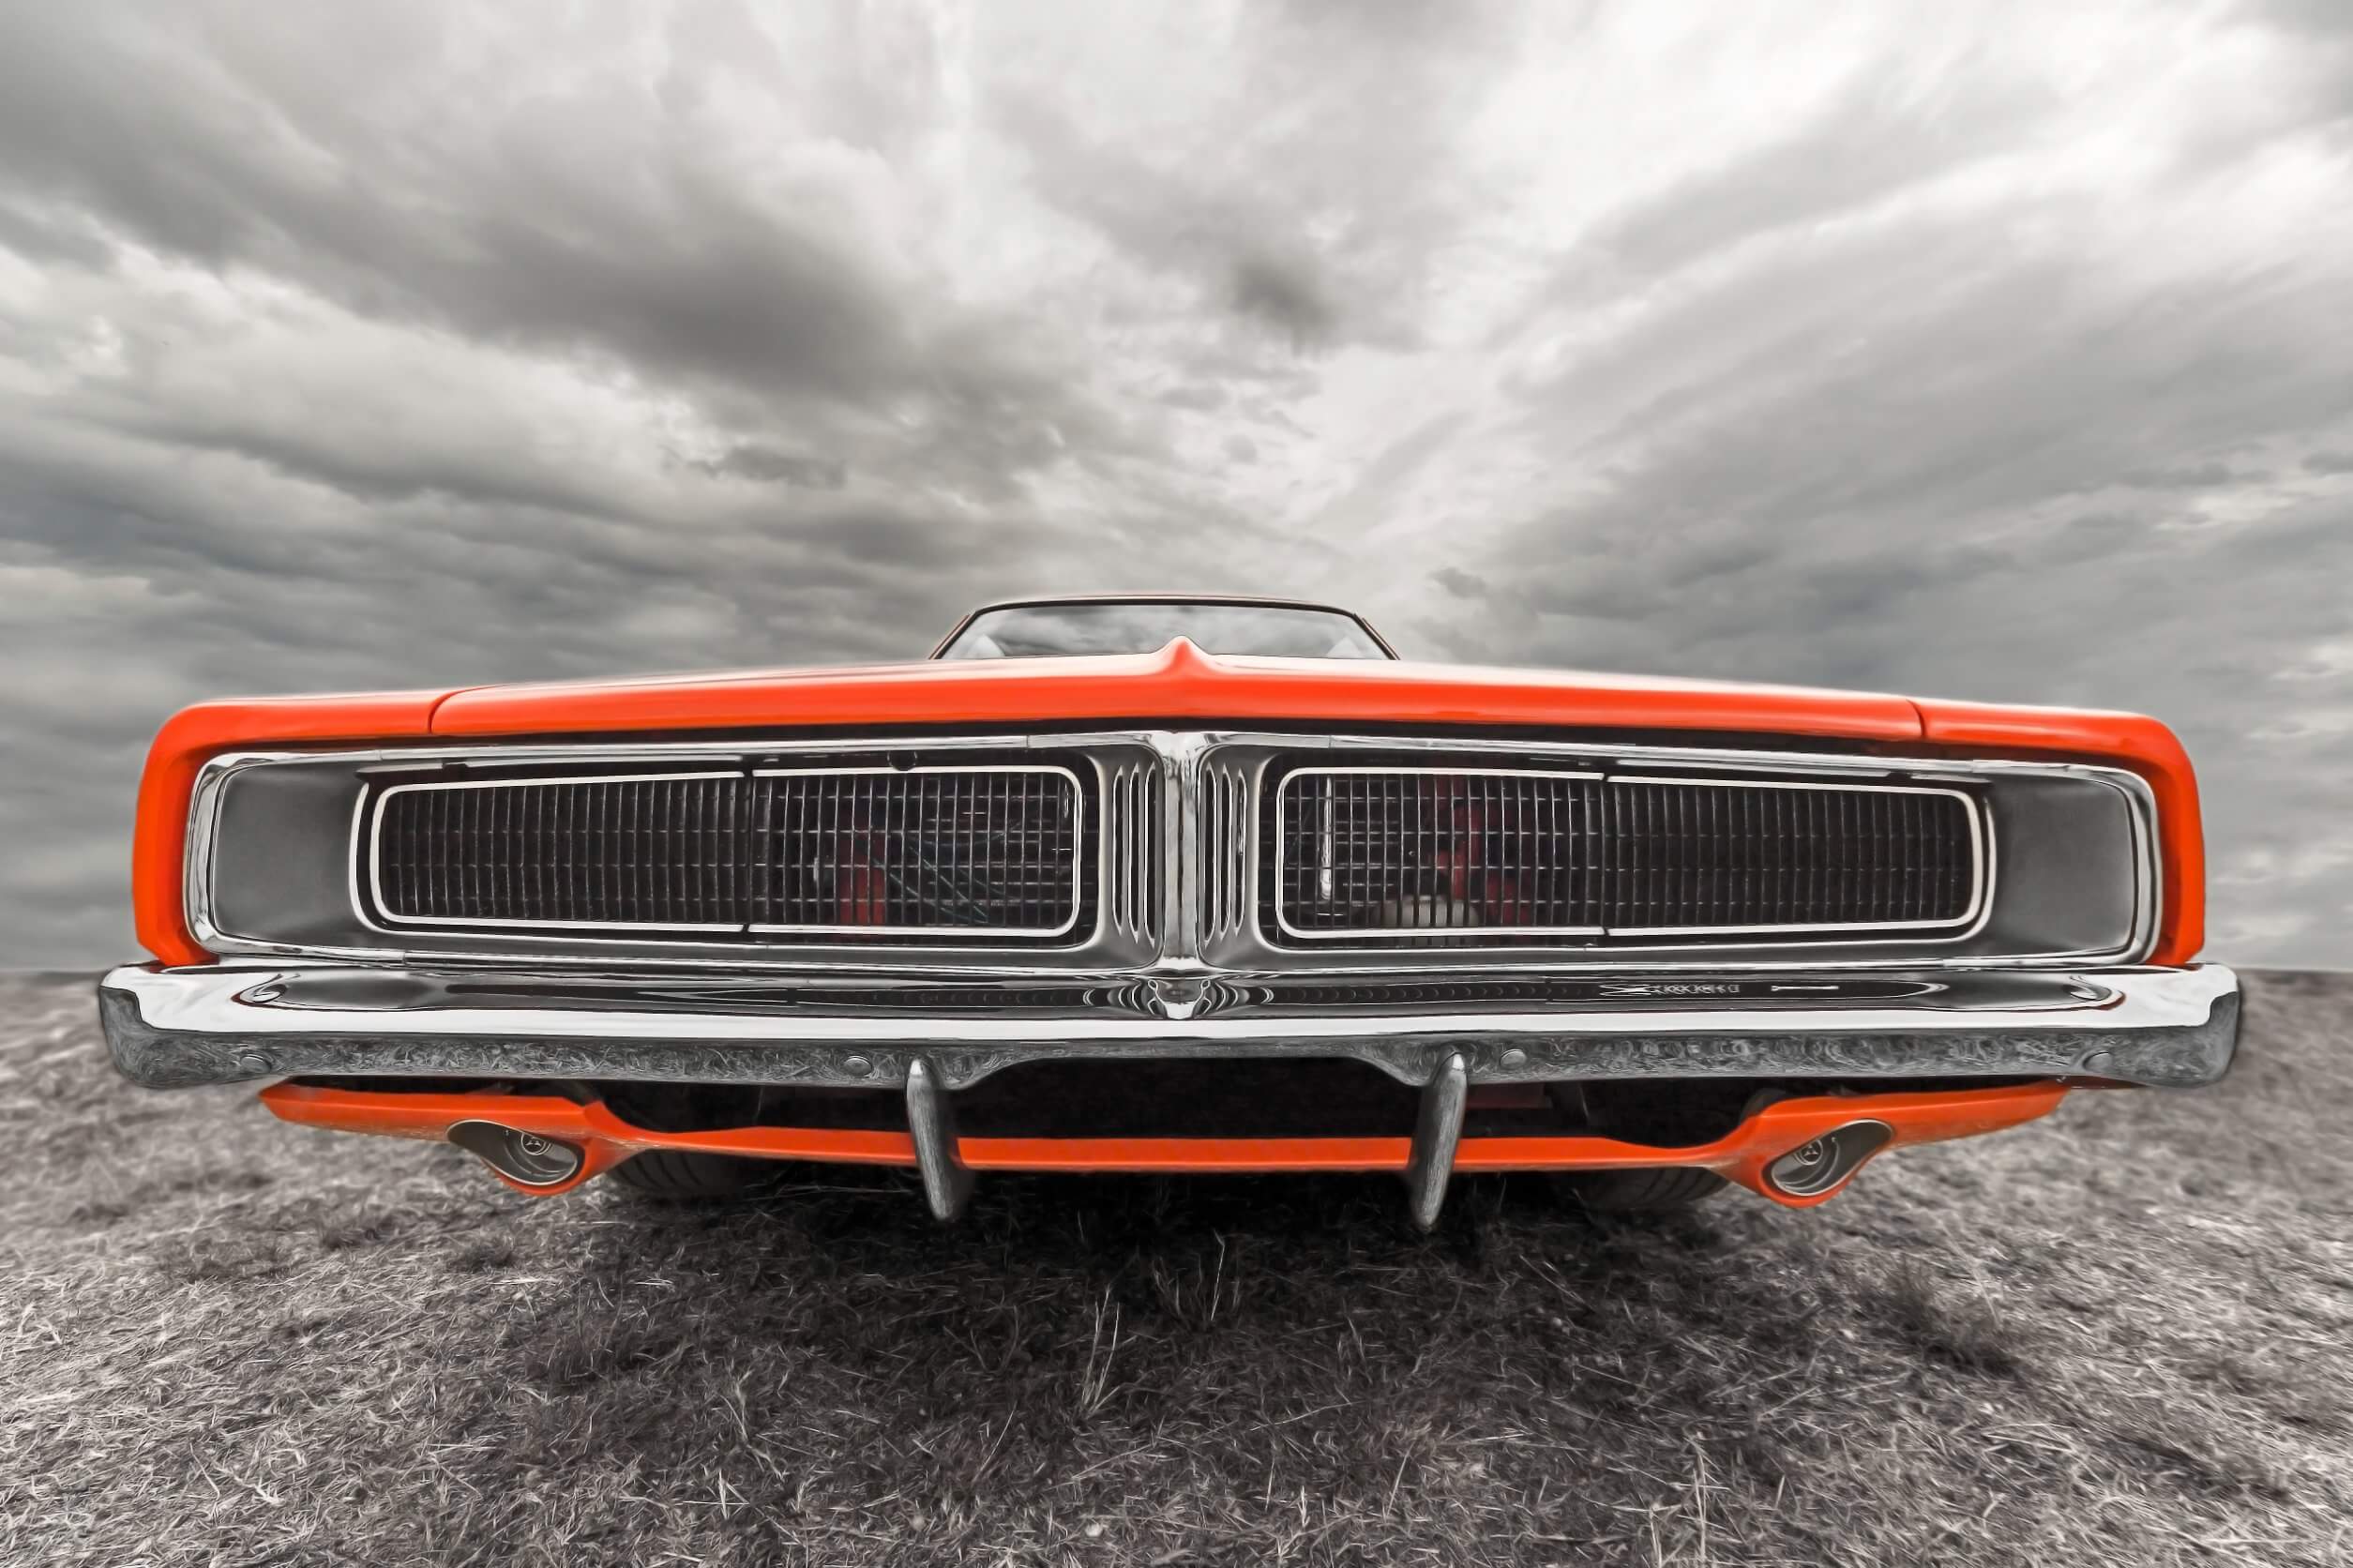
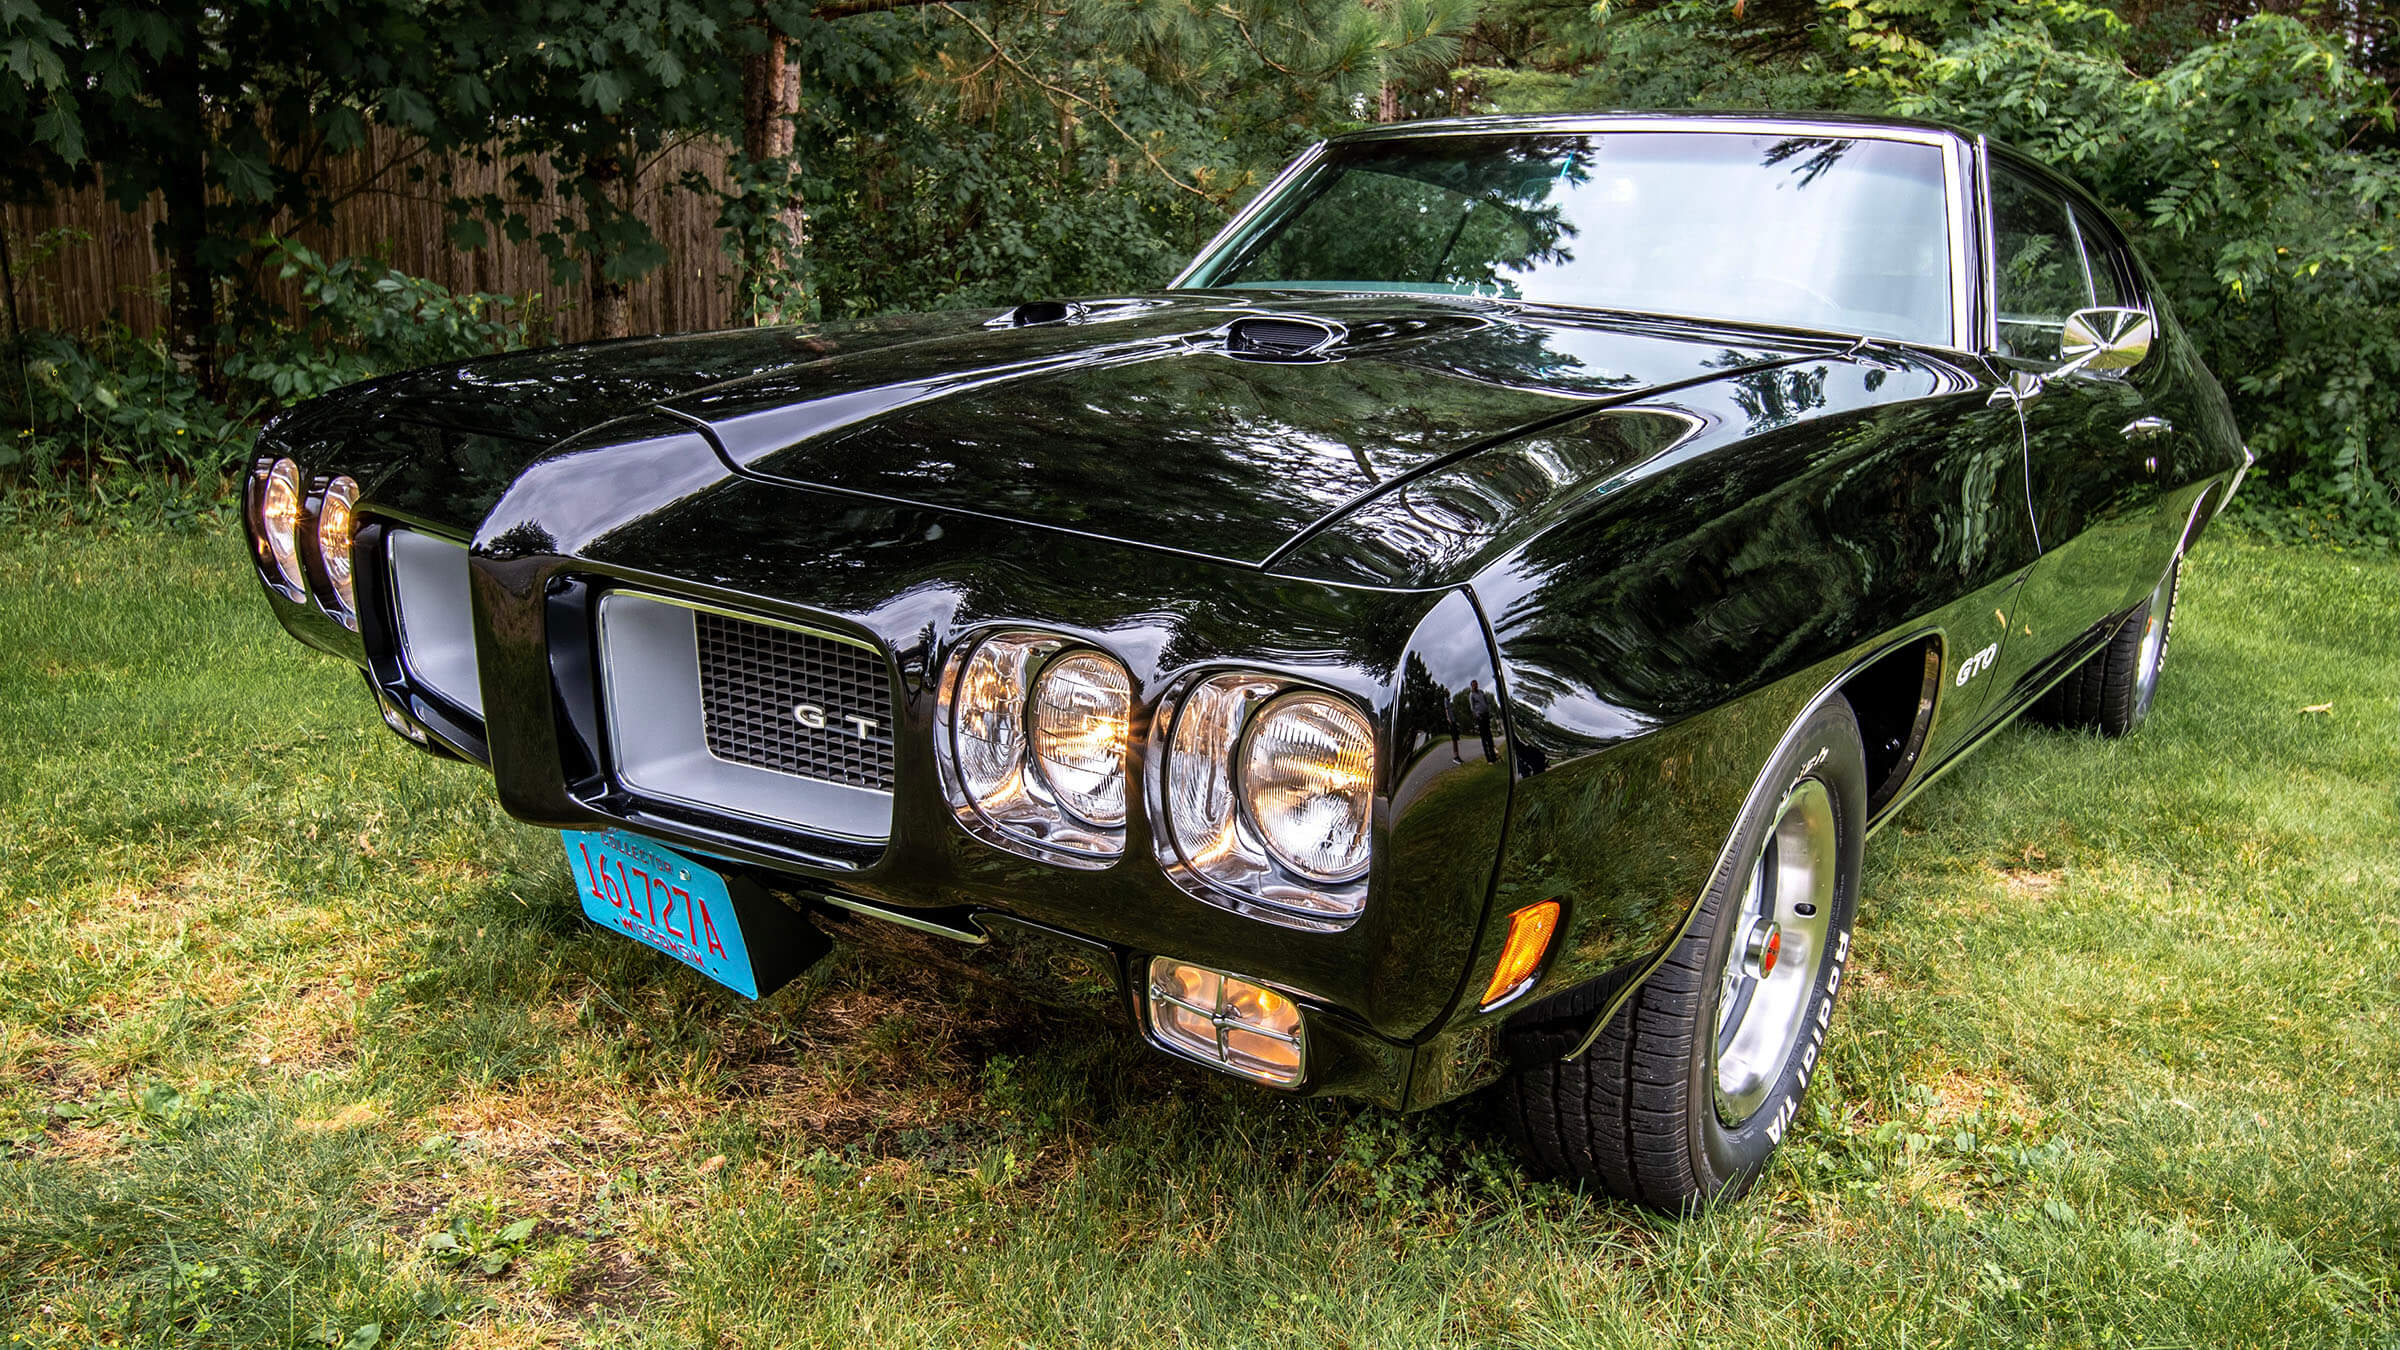
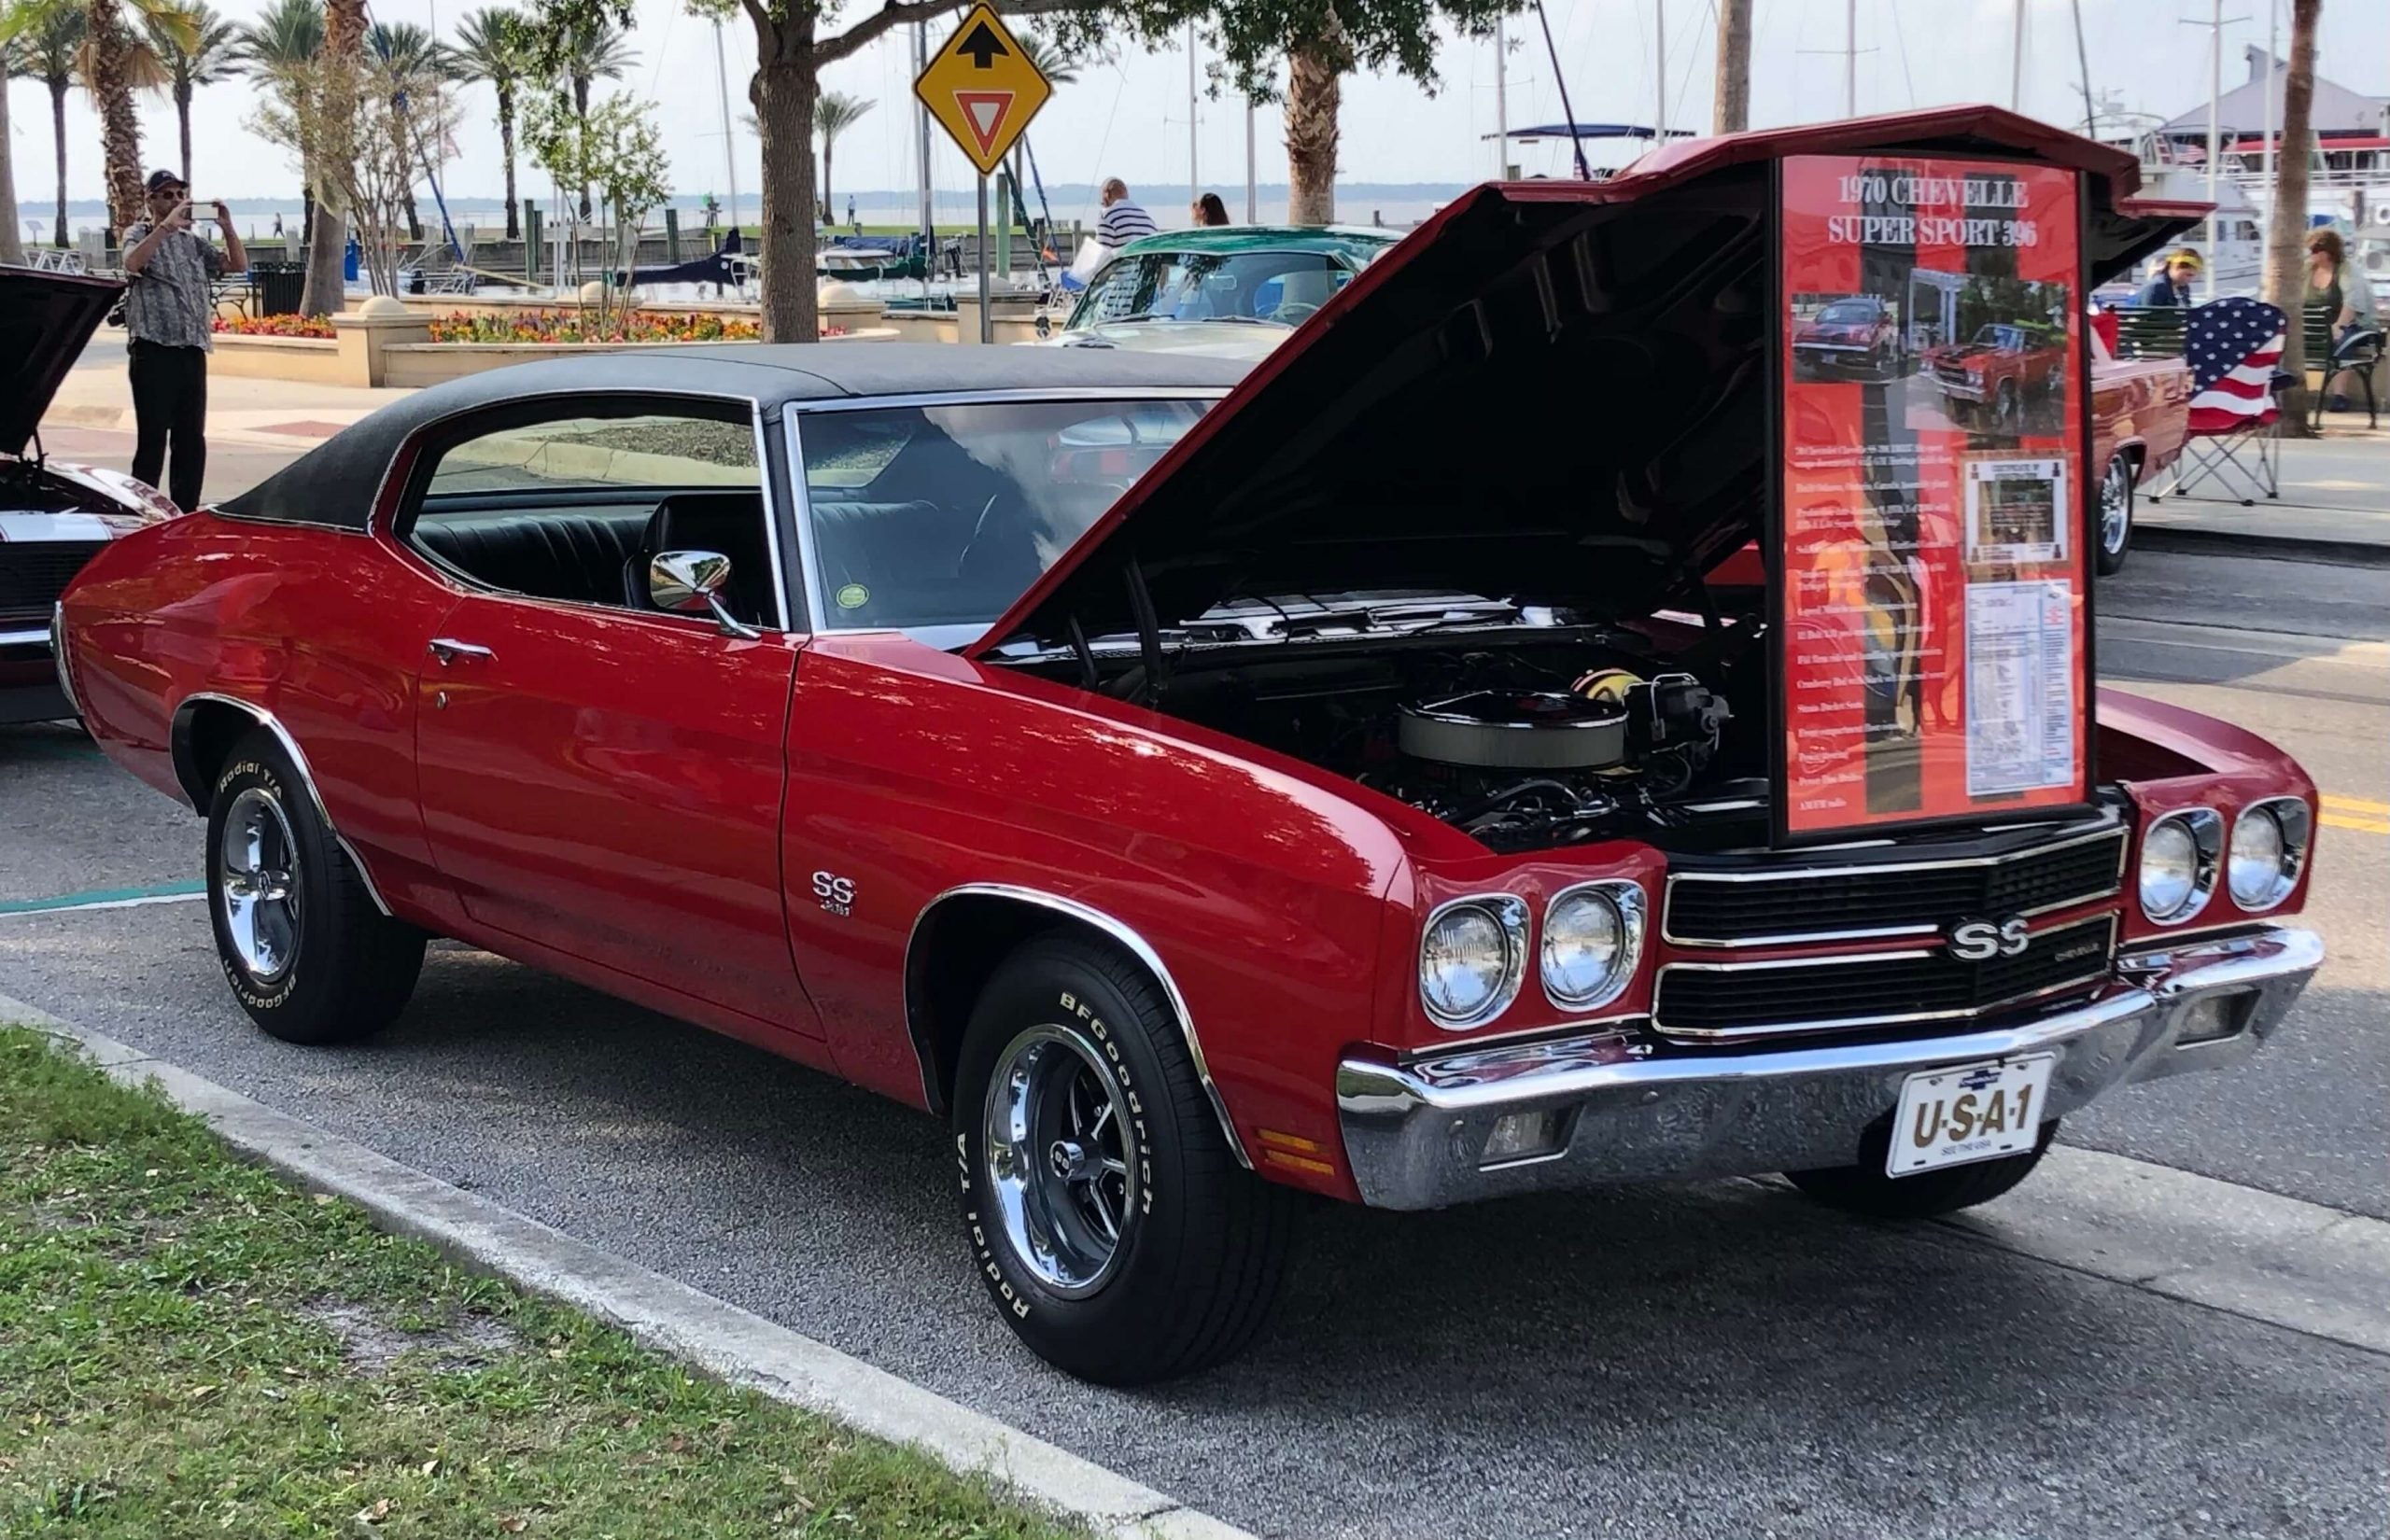
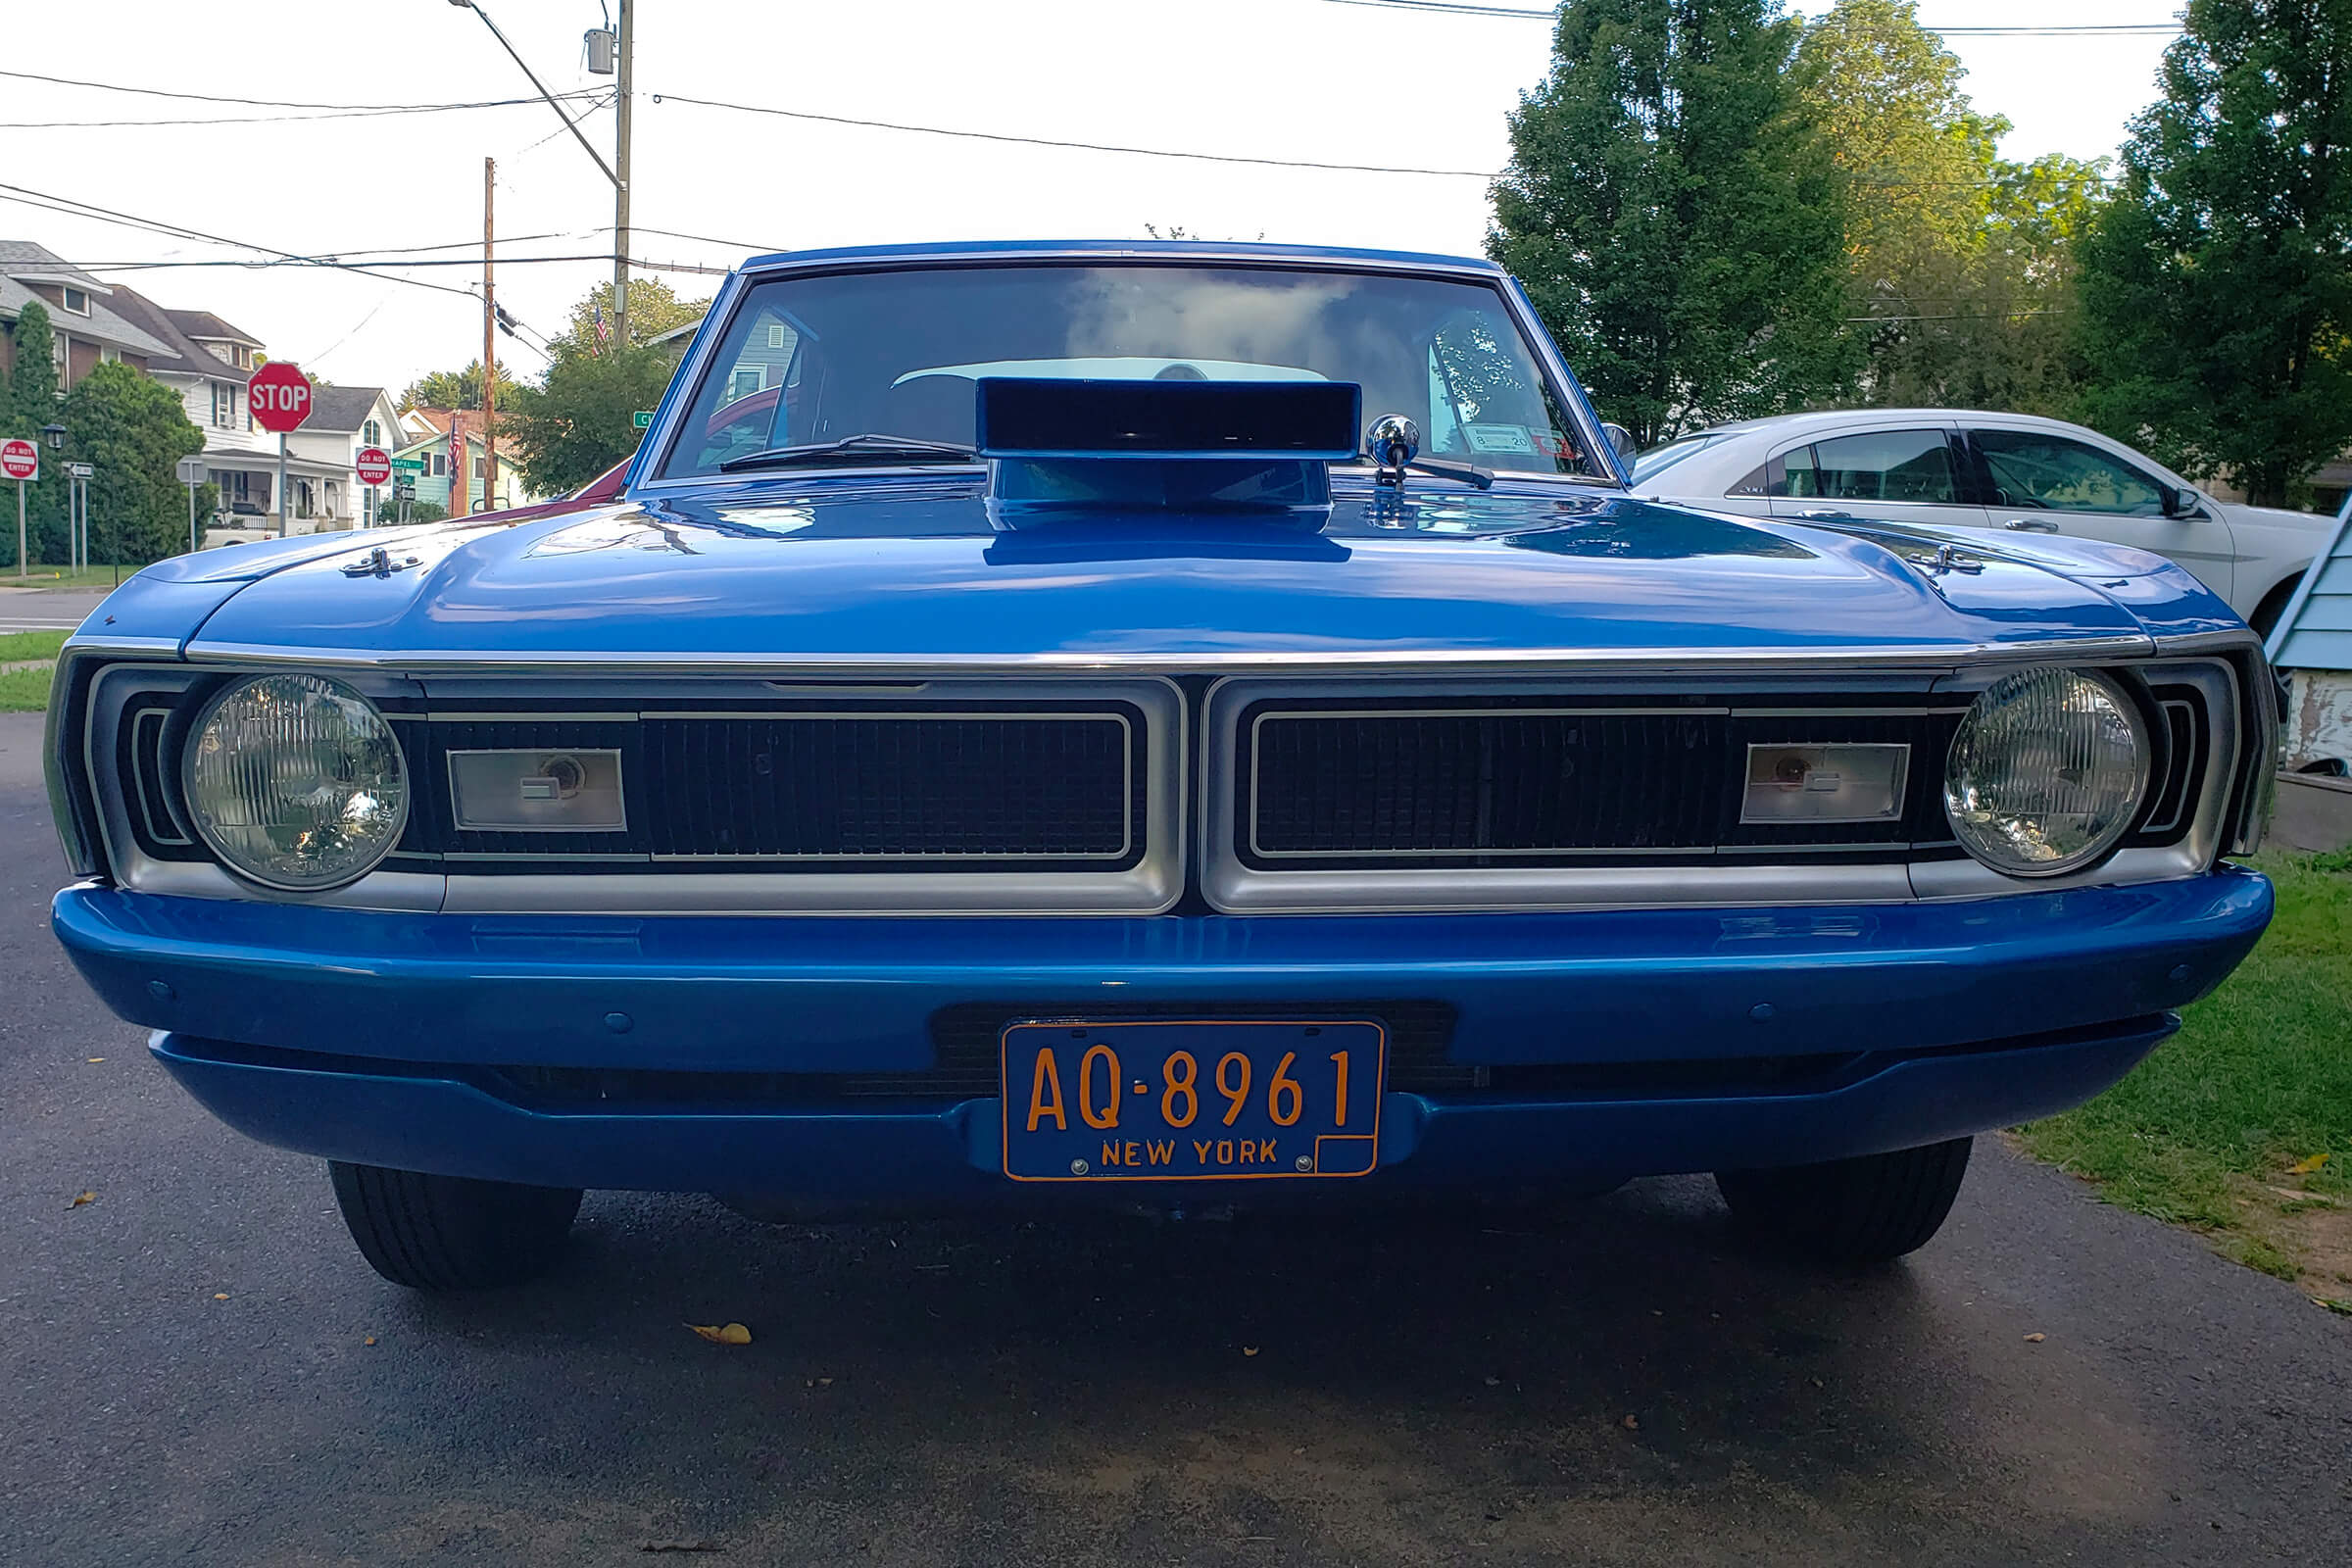
Classic cars come in a wide variety of shapes and sizes. Chances are, you already have several favorites in mind. However, before you can begin shopping around for a vehicle of your own, narrow your search by settling on a make and model or two. We recommend American classics from GM, Chrysler, and AMC for their instantly recognizable silhouettes and elegant appearance.Shop for a Car and Compare Prices
You have a lot of options when it comes to finding a seller for a vehicle. The internet has opened up a whole new world for people interested in buying a classic car. Make sure you do your research and find out a good price range for your preferred vehicle. Then, compare prices from several different sellers. Make sure to take into account the condition of the vehicle before you sign an agreement. Many classic cars need some love to get them back into top shape, but you shouldn’t be paying the same price for a vehicle that needs work as you would for one that has been fully restored.Before You Buy, Answer the Question: Is the Car Worth Restoring?
But before you purchase your vehicle and get down to business, you need to consider several factors to decide whether restoration is a task worth pursuing in the first place.Overall Price for the Car and the Restoration
Prior to buying the car, you should have a professional evaluate it and provide you with an appraisal. They will be able to tell you how much this specific make and model of vehicle typically sells for, so you don’t overpay. The professional should also be able to tell you how much work will need to go into the vehicle to make it look great or become operational, so that you can budget properly. With a professional appraisal, you will know how much you should reasonably spend on the car and how much time you will need to spend over the course of several months to fix it up.Condition of the Operational Components
In addition to looking at the aesthetic condition of the car, you should also inspect the car’s operational components. In the event the exhaust system, suspension, or transmission need to be repaired or replaced, the overall cost and difficulty of the restoration project will increase tremendously. In the event something needs to be replaced, you will need to decide whether you want an original part or something more modern. We recommend using original parts so your classic car maintains its value, but you should know that those parts can be pricier.Your Personal Preference
Make sure that you keep your emotions in check during the purchasing and restoring processes. We understand you may love a specific make and model of car; trust us, we all have our favorites. But while you may be anxious to buy a classic vehicle right away because it “feels right”, you need to determine whether it will be a good investment. Don’t get into a restoration process that’s over your head, but also don’t choose a car just because it’ll be convenient or easy to restore. Wait for the car of your dreams: the one you can afford and the one you will enjoy restoring the most.Make the Purchase
Buying a classic car involves a bit more than just handing over the cash and driving away. Make sure that the title for the vehicle is transferred to your name on the day that you make the purchase. Different states have different laws concerning the buying and selling of vehicles, so make sure that you are in accordance with the rules in the state where the vehicle is registered.Planning Your Classic Car’s Interior Restoration
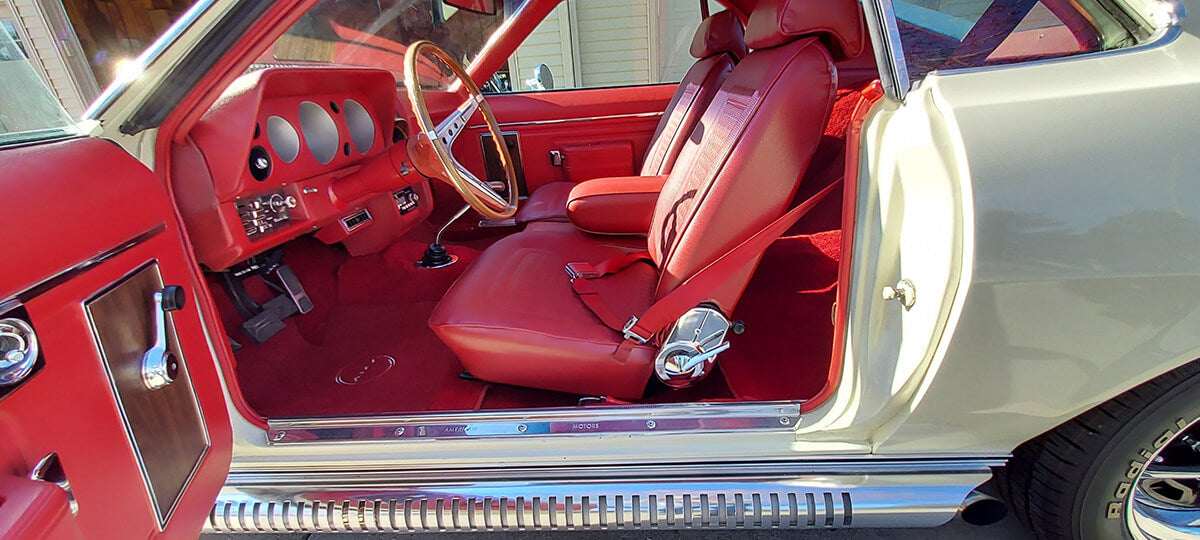
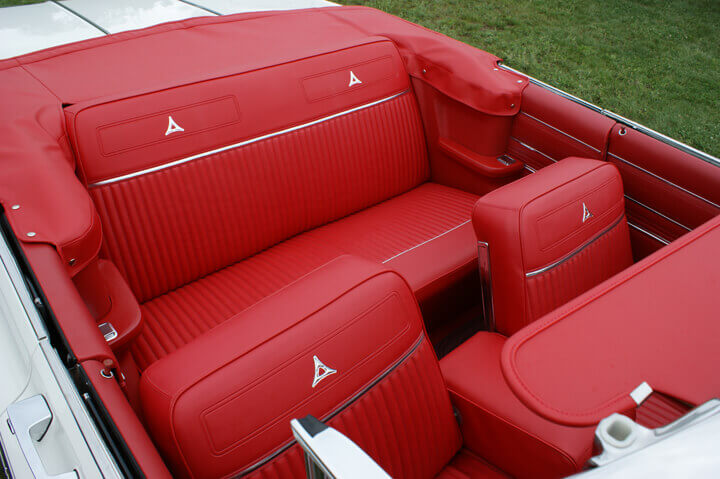
Immediately after buying the classic car of your dreams, you’re probably not thinking how best to restore the interior. Yet becoming the envy of every classic car enthusiast in your area won't happen if your ride's interior shows its age. Thus, along with planning how to restore your vehicle's engine and what color racing stripe you're going to run along the body, you need to give just as much thought to the interior. Your first impulse may be to grab a screwdriver and a razor knife and get to work. Yet that's the fastest way to end up with parts strewn all around you, an interior cabin that barely resembles the inside of a car from any era, and no clue as to what to do next. Instead, we recommend that you stick to the following proven process:Develop a plan
Before you even touch your new classic ride, you should first put pen to paper and plan out every element of your interior restoration. Assign a priority to each task to create an order in which you want them done. Here are some elements you can consider replacing:- Seat Kits – Swap out your old seating with cloth, vinyl, or leather upholstery
- Panels – Match the seats with new door and body panels for the same look and feel
- Headliners – Change out sagging old roof trim pieces
- Fabric Tops – Complement the interior with a vinyl top
Set Yourself Up for Success
Before you plunk down your cash, make sure you are set up to finish the job:- Space – Make sure you have a work area with enough floor space and electrical power so you can comfortably tinker away
- Time – Great car restoration takes a while, anywhere from 800-1,000 hours of labor on average, and you need to plan accordingly
- Motivation – The restoration process is a labor of love, and there’s nothing like starting up your beauty after all the hard work you put into her. Be sure you’re ready for this incredible experience.
Set Your Budget
Plan out not only the money you have to spend, but also how much time you can devote to the project. Overestimate to account for unexpected costs and problems that are sure to arise during your project. It’s typically at this point that most find their restoration budgets starting to look frighteningly thin. Your dwindling dollars may have you thinking that you should stop short of doing a full auto interior restoration. Yet are you really going to be happy driving around in a ride that, while beautiful on the outside, has an interior that’s held together with duct tape and zip ties? What if you’re looking to sell the car? Will any buyer give you top dollar in such a state? Of course not! That’s why the thought of not seeing your restoration through to the end should never cross your mind.Tips to Help Keep Your Costs Low
Not to worry! There are steps that you can take to ensure that you won’t have to break the bank to restore your classic ride’s interior. These include:- Determine what can be fixed and what should be replaced A few patches here and some sealant there can go a long way towards finishing your car’s interior. Yet some items, such as a classic auto door panel, only offer resale value if they’re completely replaced. Decide prior to beginning your interior restoration which elements should be replaced, and which you should tackle as DIY projects.
- Set a max budget Don’t just throw caution to the wind and spend like crazy. Find out how much your interior replacement parts will cost, and then add in a little on the top to account for your own fixes. Once you’ve come up with a solid figure, commit yourself to not exceeding it.
- Have professional detailing done While you might think that you can handle all the polishing and finishing that needs to be done on your car, you’d be amazed at the magic that a professional detailer can do. Often, deep cleaning will reveal that many of the items you thought needed replacing only required a good scrubbing to bring them back to life.
Do Your Research and Get Organized
The internet can be an invaluable resource in understanding muscle car interior restoration, as can automotive magazines, assembly manuals, and original fabric swatch books. You'll be amazed at how quickly a disassembled car can take up every corner of your garage. Before you begin cutting into your car, create adequate storage space and a way to organize and store related components accordingly.Find the right tools
You won't find the tools you need to effectively restore muscle car interior in your average tool box. Rather you'll likely need specialty items such as:-
- Heat Guns
- Polishing wheels
- Pry tools
- Hog ring pliers
- An air compressor
Put your plan into action
Don't be afraid to ask for help from the experts along the way. Also remember to photograph every step of the process so that you'll have visual reference material to consult in the future.Hot Tip: Media Blasting Quickly Removes Rust & Old Paint from Your Classic Car
Burdened by rust, road salt stains, or grime that detergents just can’t seem to remove? When it comes to the toughest cleaning, media blasting is your ticket to a fully restored classic car. Media blasting is capable of smoothing metal, and stripping paint without causing any harm to the base material.How Media Blasting Works
Media blasting is similar to pressure washing; however, instead of shooting highly pressurized water droplets, media blasting cleans surfaces by shooting tiny pieces of material using pressurized air. The materials used are far more abrasive than water droplets; therefore, they need to be contained. Media blasting is typically performed inside an enclosed cabinet. The classic car part that needs cleaning is placed inside the cabinet along with a blasting gun and a pair of heavy-duty gloves that can be used from the outside. We also contain the cabinet behind a larger enclosure. This helps us maintain temperature to prevent flash corrosion, and the spread of harmful microscopic dust. While blasting, our team takes safety measures by wearing breathing masks.Types of Blasting Media
The classic car part, and what needs to be cleaned, determines the material we use for media blasting. Some of the materials we use to media blast include:- Walnut shells – Strips paint; removes minor rust; eco-friendly; inexpensive; one-time use
- Plastic beads – Strips paint; removes minor rust; reusable
- Glass beads – Strips metal; removes most rust; smooths surface
- Aluminum oxide – Most powerful; smooths scratches; leaves a coarse finish; lasts the longest
- Corn cob – Removes grease
- Dry ice – Removes tar & ink