Video Transcript
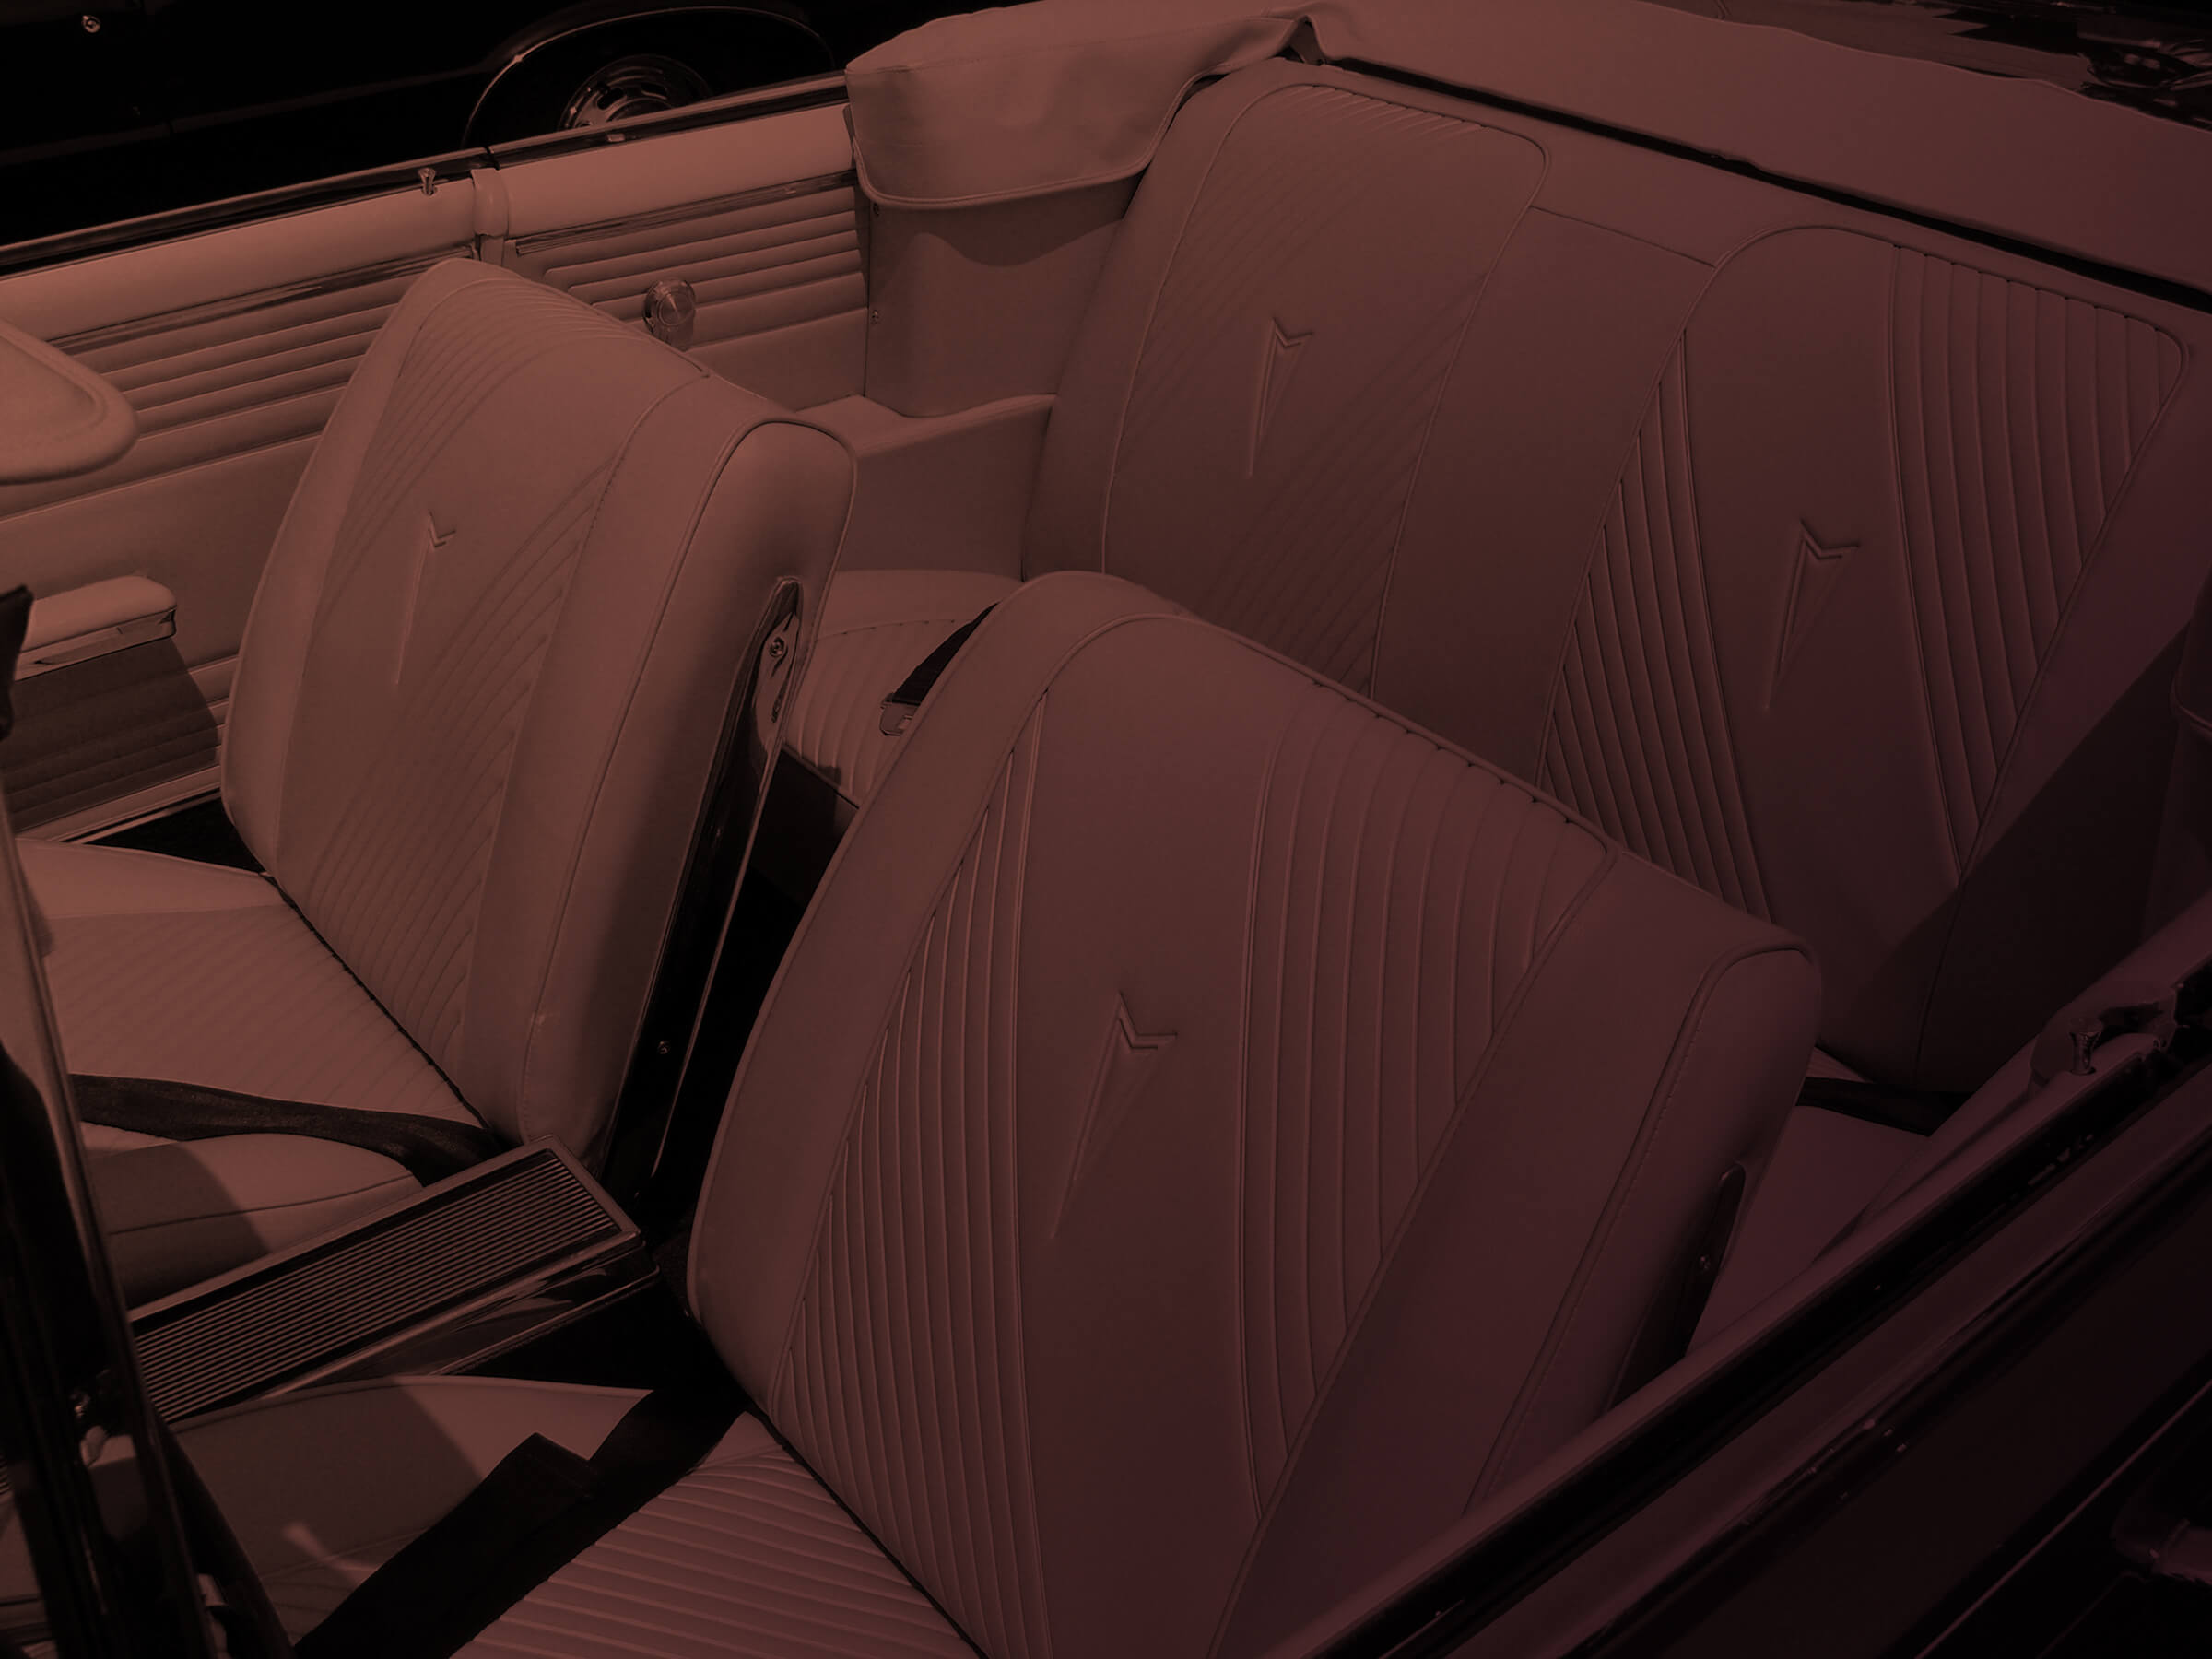
Hi, I’m Ron Halbritter, technical advisor for Legendary Auto Interiors and I’d like to welcome you to the Legendary Studio. In today’s video we’re going to teach you how to remove your existing seat upholstery and your padding, getting it down to bare metal and preparing for your new seat
upholstery. So let’s let the professionals at Legendary Auto Interiors show you how it’s done.
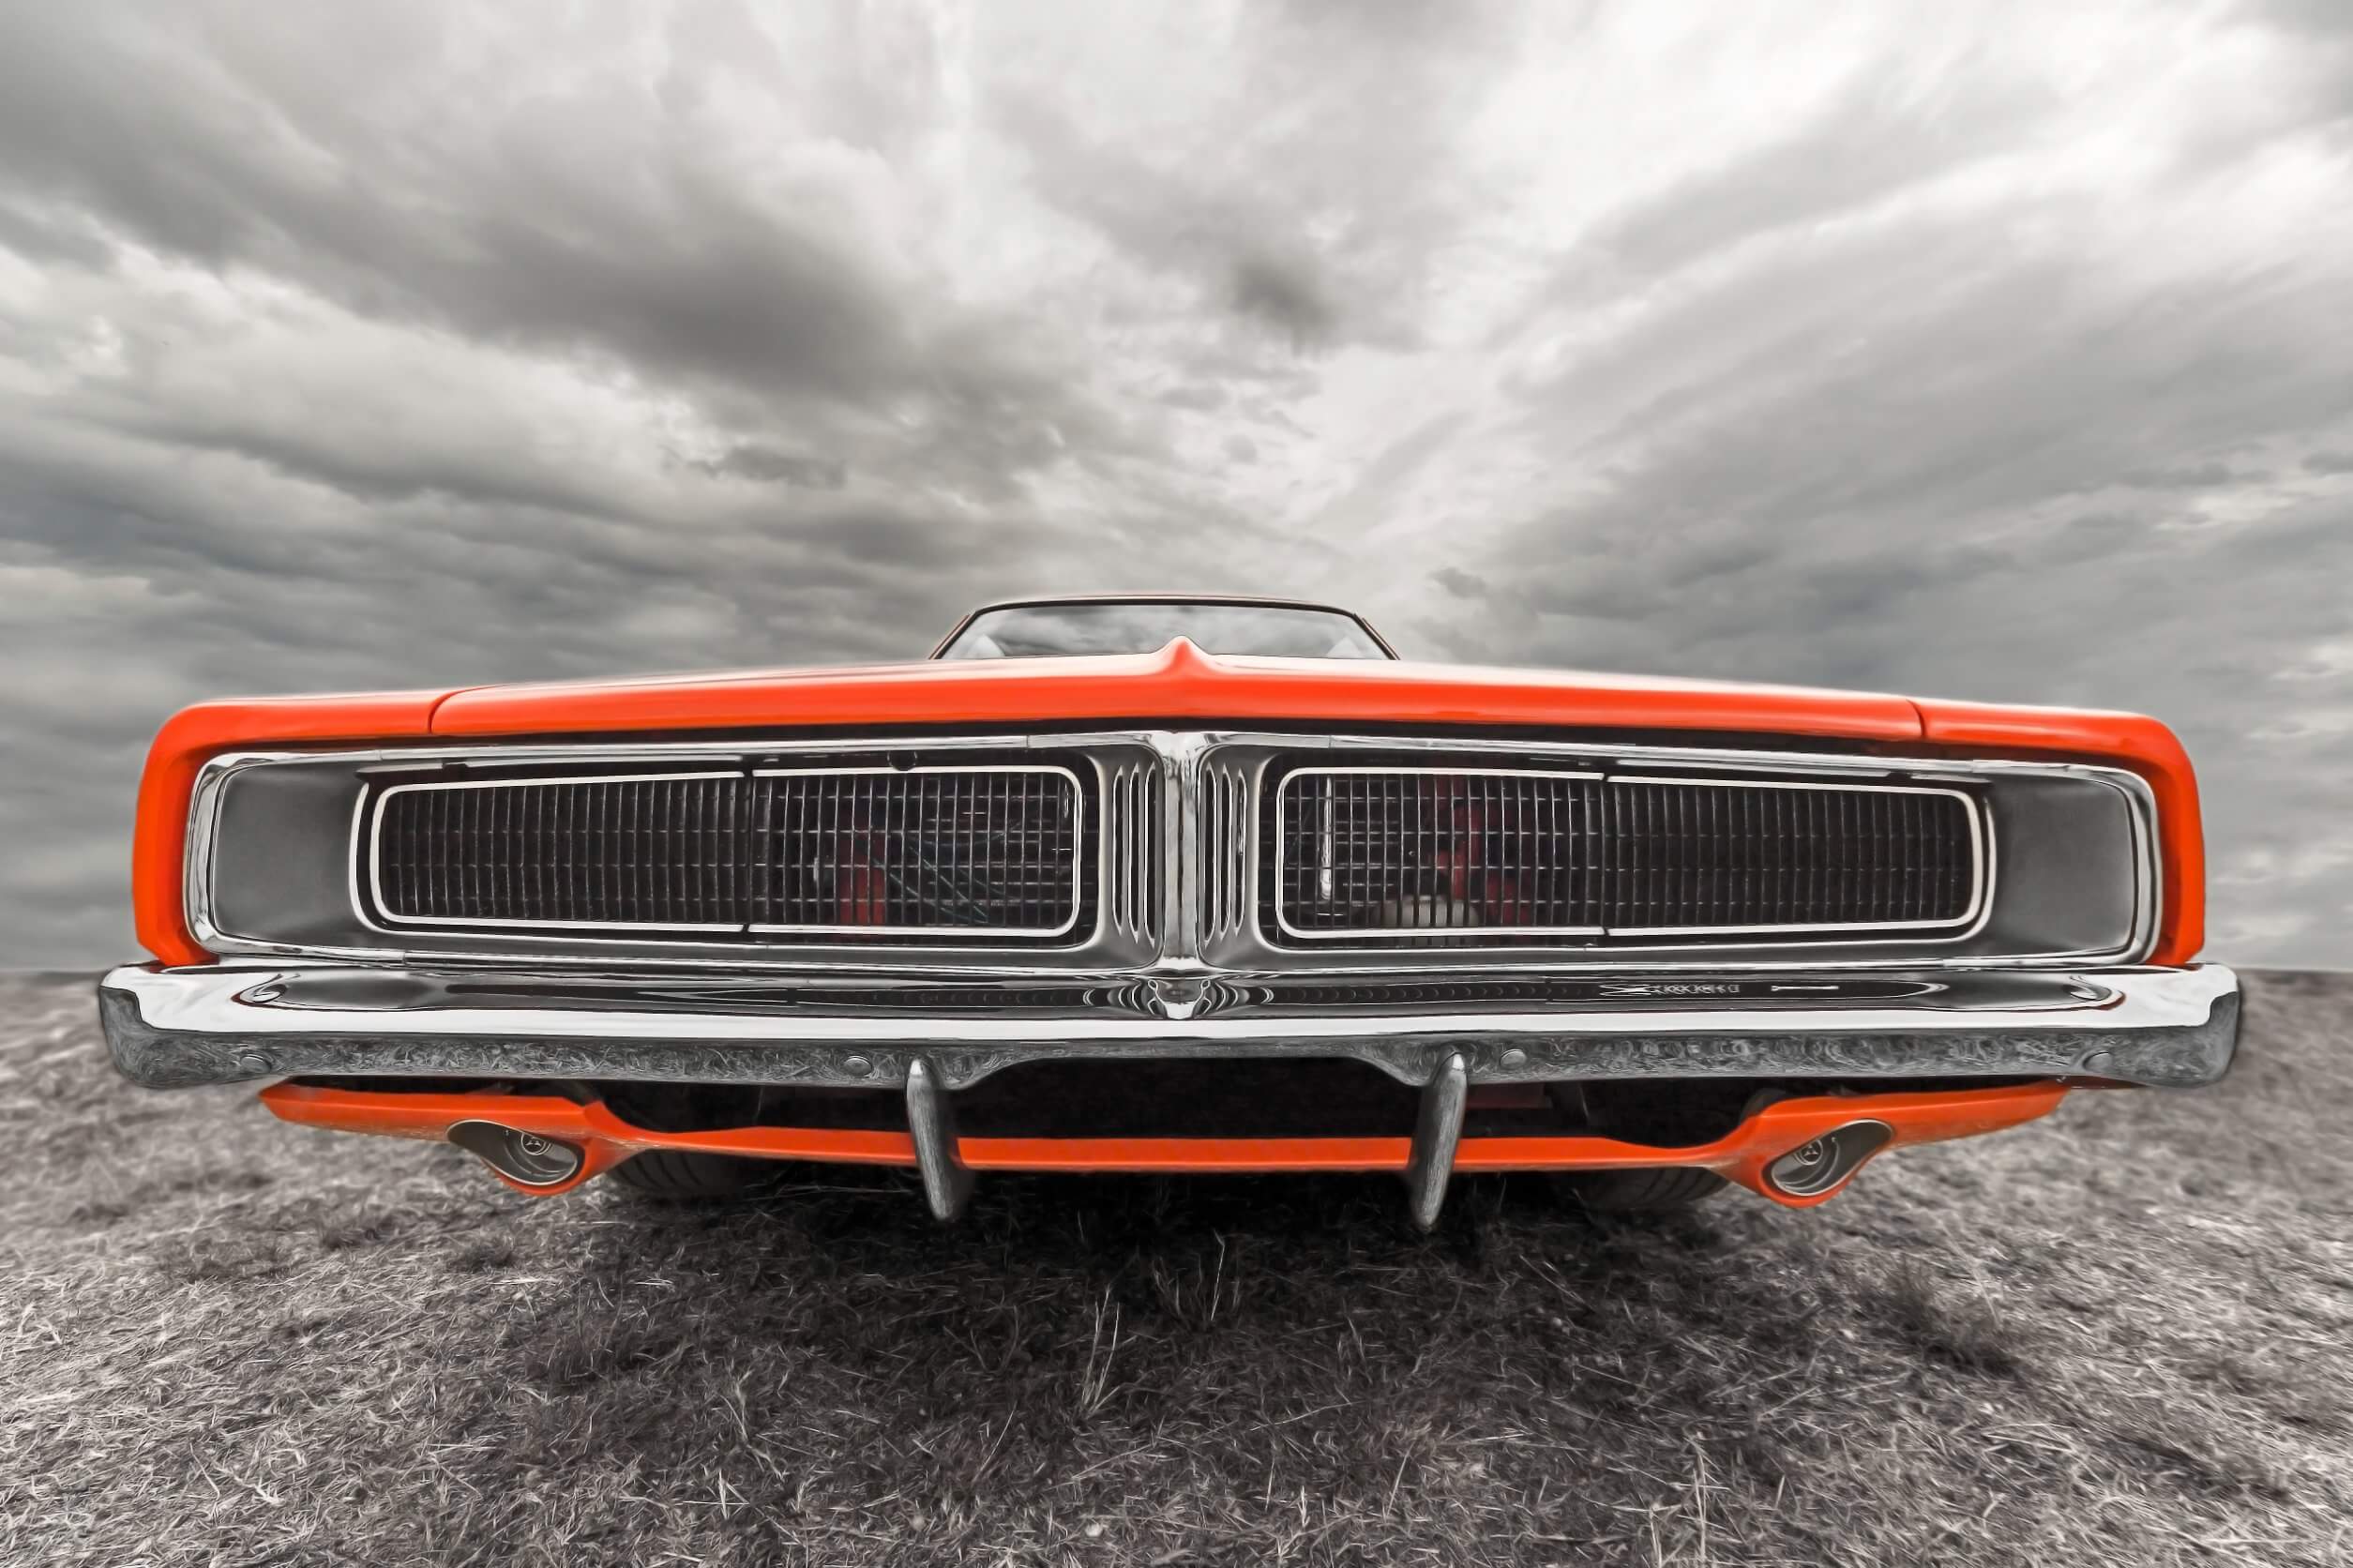
Today’s project will be tearing apart our 1970 B body Charger, and to help us do that is Randy Brown, who is our head installer here at Legendary Auto Interiors. Randy, welcome on another project.
Our first order of business will be to remove all of our hardware and our back panels so we can separate the top and the bottom so we can start tearing apart our seat upholstery and all of our padding to get to bare springs.
We’ll start by removing the hinge covers. In 1970, they had a three-piece back panel which consisted of two metal hinge covers which are held down by Phillips screws and a plastic back panel. We’ll need to go over to the opposite side of the seat and remove that hinge cover as well.
We’ll next move on to our hinge bolts. Sometimes these are a little stubborn and may require some penetrating oil. We’ll move on to our remaining seat bolt, and the two seats should be able to be separated at this point.
We’ll next need to remove the front seat bottom seat washer. This washer is a base for the front seat top seat adjustment bolt. We’ll also need to remove the seat catch which is held on by 7/16 bolts. Underneath the 7/16 bolts you’ll find an elongated oval shaped washer that you’ll need to reuse.
Lastly, to remove the back panel we’ll need to remove the two screws that are located on the upper side of the front seat back panel. We’ll then need to remove the seat tilt adjustment bolt
with a large Phillips screwdriver.
Now that all of our hardware is removed we’ll need to keep track of that and put it in our parts bags and parts boxes since we’ll need to reuse all of these pieces.
Now that all of our back panel hardware and our trim are removed it’s time to remove our seat cover. To do that we’ll need to remove all of the hog rings that hold our seat cover on. Prior to doing that (as we spoke of in our tools and materials video) we’ll need to have our safety glasses and our safety gloves while removing these. They tend to break and go airborne and we always want to be protected.
We’ll start with our front seat top. We’ll need to remove all the hog rings around the outside perimeter and peel back the seat cover. There are two ways to remove the hog rings: one
is to pry the hog ring against the seat frame and pull it off, and the other way is to simply cut the hog ring. We’ll do the same thing with our front seat bottom, removing all the hog rings around the outside perimeter that hold the seat cover on and peel the seat cover back over the corners of the seat frame.
Now that our perimeter is detached and it’s unwrapped, you’ll see in the center section there’s an area that’s tucked down in through the foam. That’ll need to be disassembled also all the way
around. You’ll see it’s along the top edge and the sides here, and that will remove our seat cover completely. Now remember in those listing pockets there are some listing wires also that we’ll need to reuse, so we’ll need to save those. To remove these hog rings to get more leverage, you’ll need a pair of wire cutters or side nippers.
And lastly, we’ll need to remove the front edge of the insert where it’s attached down through
the foam and then we can easily remove our seat cover from that point.
Since our bottom cover is all removed, we’re going to move on to our top and start with the sides of our top, reaching down through the sides of the insert and removing those hog rings. And to finish up removing our seat covers, just below the headrest there’s a horizontal listing wire that tucks down through the foam that you’ll need to cut or remove all the hog rings.
Now that our seat covers are completely removed, the steel listing wires that we spoke about earlier you can either remove them and keep them with a seat upholstery. It’s a good idea to keep them on hand because you’ll need to reuse these when you install your new seat upholstery. We keep our seat cover and all our listing wires in one separate bag, and we do that for reference and if there’s any parts that we’ll need to reuse we can go back into the bag and look for those parts if we need to.
Our next step will be to remove the foam and the burlap that’s underneath the foam, but before we do that it’s a good idea to put on our dust masks because–depending on what model car you’re working on and what kind of condition it’s–in this foam may be deteriorated and you’ll have a lot of airborne contaminants that you don’t want to breathe in.
You’ll need to carefully remove the foam as you may need to reuse this foam if there’s not a foam kit available for your year model seat or it may need to be repaired. After your foam is removed, there’s a two-inch felt that surrounds the perimeter of your seat springs that will need to be removed. That’s just held on by hog rings. The insert listing wire that’s attached to the top side of the burlap will need to be removed also. After your listing insert wire has been removed, you’ll need to cut the remaining hog rings that are holding on your burlap and wires and you’ll be down the springs at that point.
Moving on to our front seat top, you will need to remove the insert listing wire along with the remaining burlap so we’re down to bare springs. If you do not have the insert listing wire or need
insert listing wire for your installation, we do have it available in our installation kits. Please refer to our tools and materials video to see what’s included with that kit
Now that we have our seat springs torn down to bare metal, it’s a good opportunity to send these over to our media blast and paint center. If you choose to have the professionals at
Legendary Auto Interiors do the work for you, give us a call at (800) 363-8804.
You notice we have two bags, one with our discarded material with our old burlap and our old
foam and the bag we’re going to save that has our old seat covers and our listing wires just in case we need to reference those or reuse any of the listing wires.
Now we’re ready to get started on our rear seats. Our bottoms and our tops on our back seats are attached the same way as the front, where around the entire perimeter it’s held down by hog rings. We’ll need to cut or remove those and expose our padding and our burlap and remove that also.
To remove the hog rings you’ll follow the same procedure we did on our front seats by prying the hog rings against the seat metal frame or cutting them. Moving on to our rear seat top, we’ll repeat the process.
Now that we have our seat covers removed, we’ll put these in our plastic bag so we can reference them when we install our new seat covers and if we need to retrieve any listing wires we can go back and get those. We are ready to remove all of our padding and once again it’s a good idea to wear your dust mask so we don’t get any airborne particles or any old cotton, foam any of this nasty stuff that’s in here. You don’t want to be breathing this stuff in.
After we get our foam removed, which is held on by hog rings, we’ll need to remove the burlap and the two-inch felt that’s around the outside perimeter exactly like we did on our front bucket seats.
Our rear seat top has cotton padding on it which is held down by hog rings with a mesh netting over the top of it. You’ll just need to cut and remove all those hog rings that hold on all of your padding and all your burlap.
Once your burlap is removed off your rear seat top frame, you’ll notice underneath that there is a small area along the top edge that has a burlap strip on it which will need to be removed also. The two inch strip located along the top edge prevents the cotton from falling down in between the seat springs. It’s very important when you reinstall your new seat cover that this is installed so it creates a little bit of padding along the whole top edge of your seat.
Now that we have our padding and our burlap all removed, we can discard this into one of our plastic bags. We’ll do the same thing with our bottom.
Our seat frames are now ready to be sent over to our media blast and paint center. If you want the professionals at Legendary Auto Interiors to do the work for you, give us a call at (800) 363-8804.
Now that our seat frames are back from our media blast and paint center, they’re ready for our new seat covers. Hopefully this video has been very helpful for you.