Door panel installation is an important step in your classic car’s interior restoration process. Whether you want to fit your vintage General Motors muscle car with replacement car door panels or create a custom interior for your AMC Javelin, choose a look that both complements the vehicle and increases its appeal. This guide serves to help you make informed choices during your door panel restoration, from purchasing to installation.
Step 1: Ensure Proper Fit
Before ordering new custom door panels, you want to be sure they fit. Your door panels should be designed to exact OEM specifications to ensure proper alignment and installation. Custom panels are a great way to guarantee a clean fit; they can be engineered and modified in accordance with the original specs.
Step 2: Choose the Right Colors & Materials
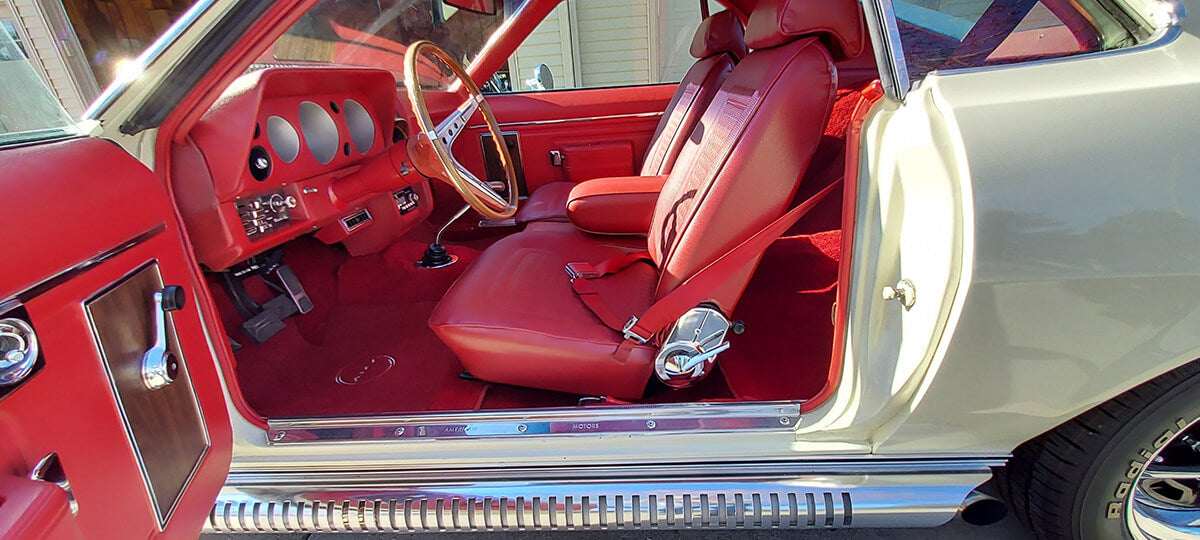
Your next decision is an aesthetic one. If you want an awesome-looking interior, you will want to be very specific with the color and finish of your car door panels. If you make the wrong choice, it could really clash with the end result. Whether you want to coordinate to your car’s original color scheme or experiment with a new look, make sure to select the proper texture and grain patterns to integrate your custom door panels seamlessly with the rest of the interior.
Step 3: Remove Old Door Panels
Door panel replacement is not a difficult procedure, but requires a careful approach to avoid damaging fragile components. You may need several tools for the job, such as a socket, screwdriver, and L-Pick (for the window crank) To begin, roll the windows down and remove the existing door panel, if there is one, by loosening any visible screws. Next, if your vehicle uses manual window operation, use the L-pick to remove the clip that secures the crank handle. Next remove any armrest pads, armrest bases, and door handles. Once all the screws and mounted trim components have been removed, you can begin to carefully pry off the door panel, starting at the bottom. Be mindful of the plastic fasteners and any wiring, which can break easily during removal. There may also be stainless trim which will need to be transferred from the old panels to the new panels.
Step 4: Install New Panels
To complete your door panel installation, start by transferring any stainless trim and reconnecting any electronic components, such as power window switches and door locks. Next, carefully slide the window sweep into position and begin aligning the fasteners with the corresponding slots. Snap it into place and retighten the screws. Replace the window crank and any other accessories, and you’re finished. At Legendary Auto Interiors, we match your new panels to exact OEM specifications, delivering a perfect fit every time. To order factory correct
car door panels for your classic ride,
shop today.