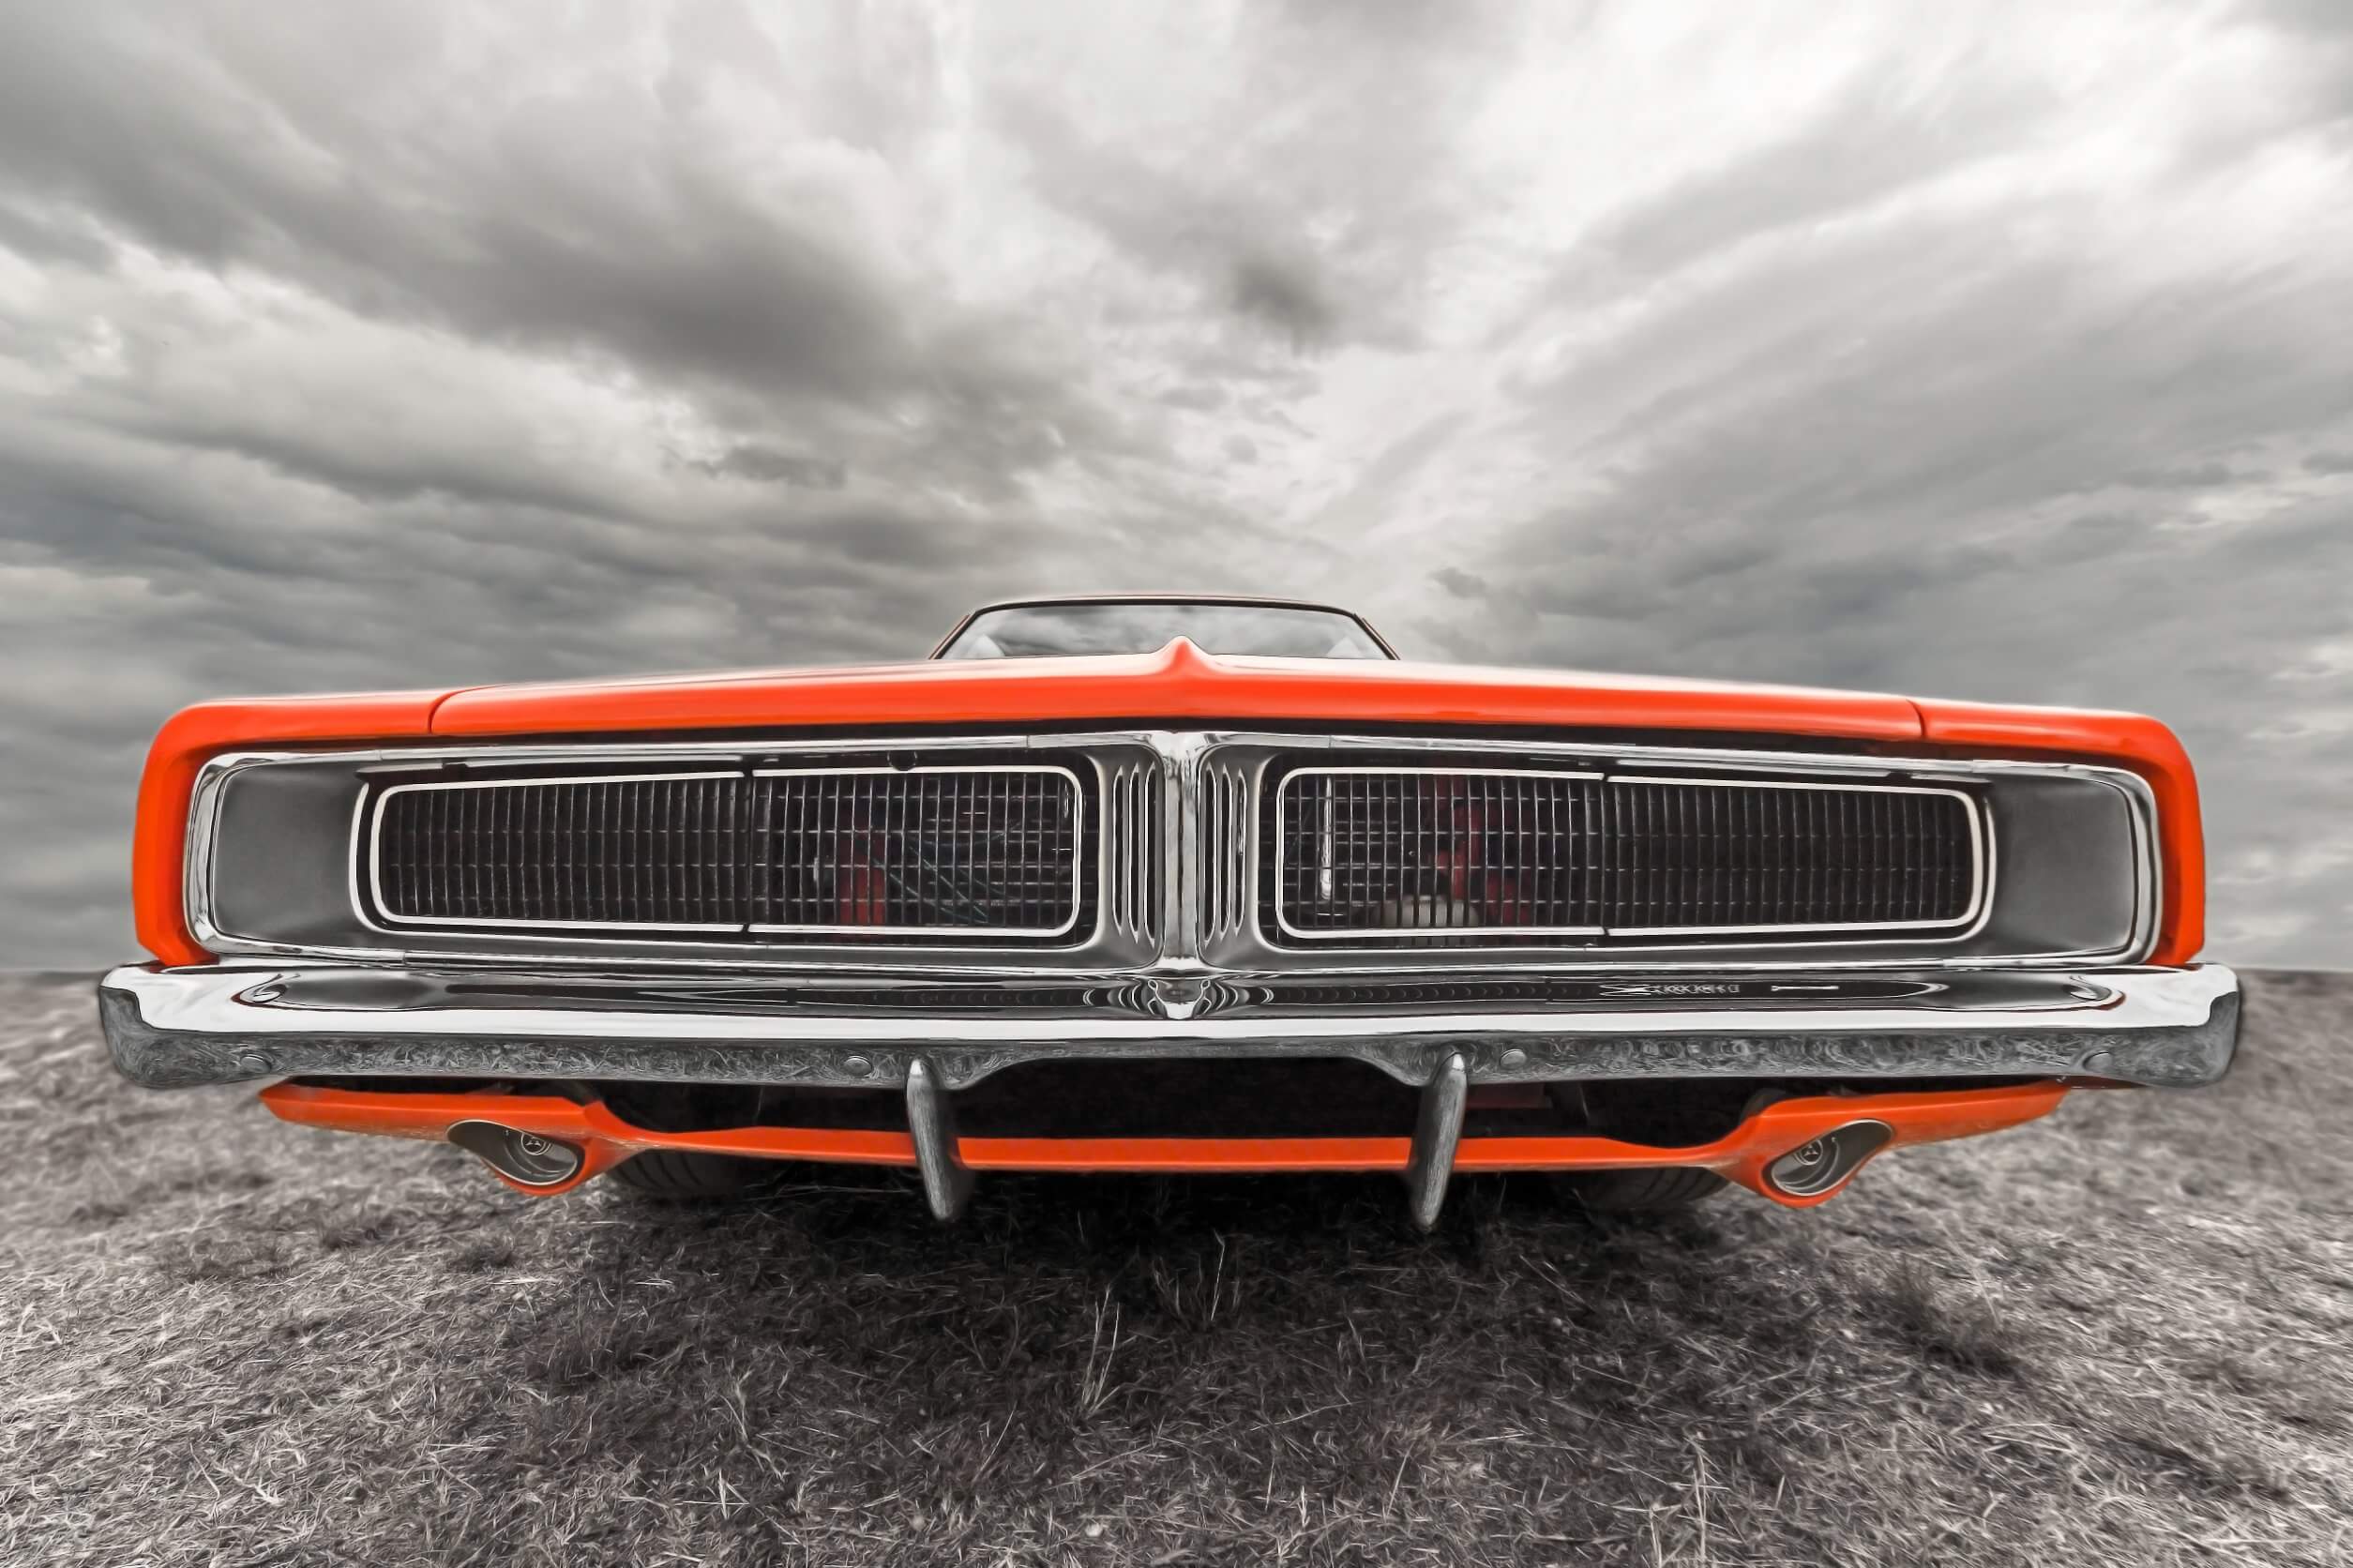
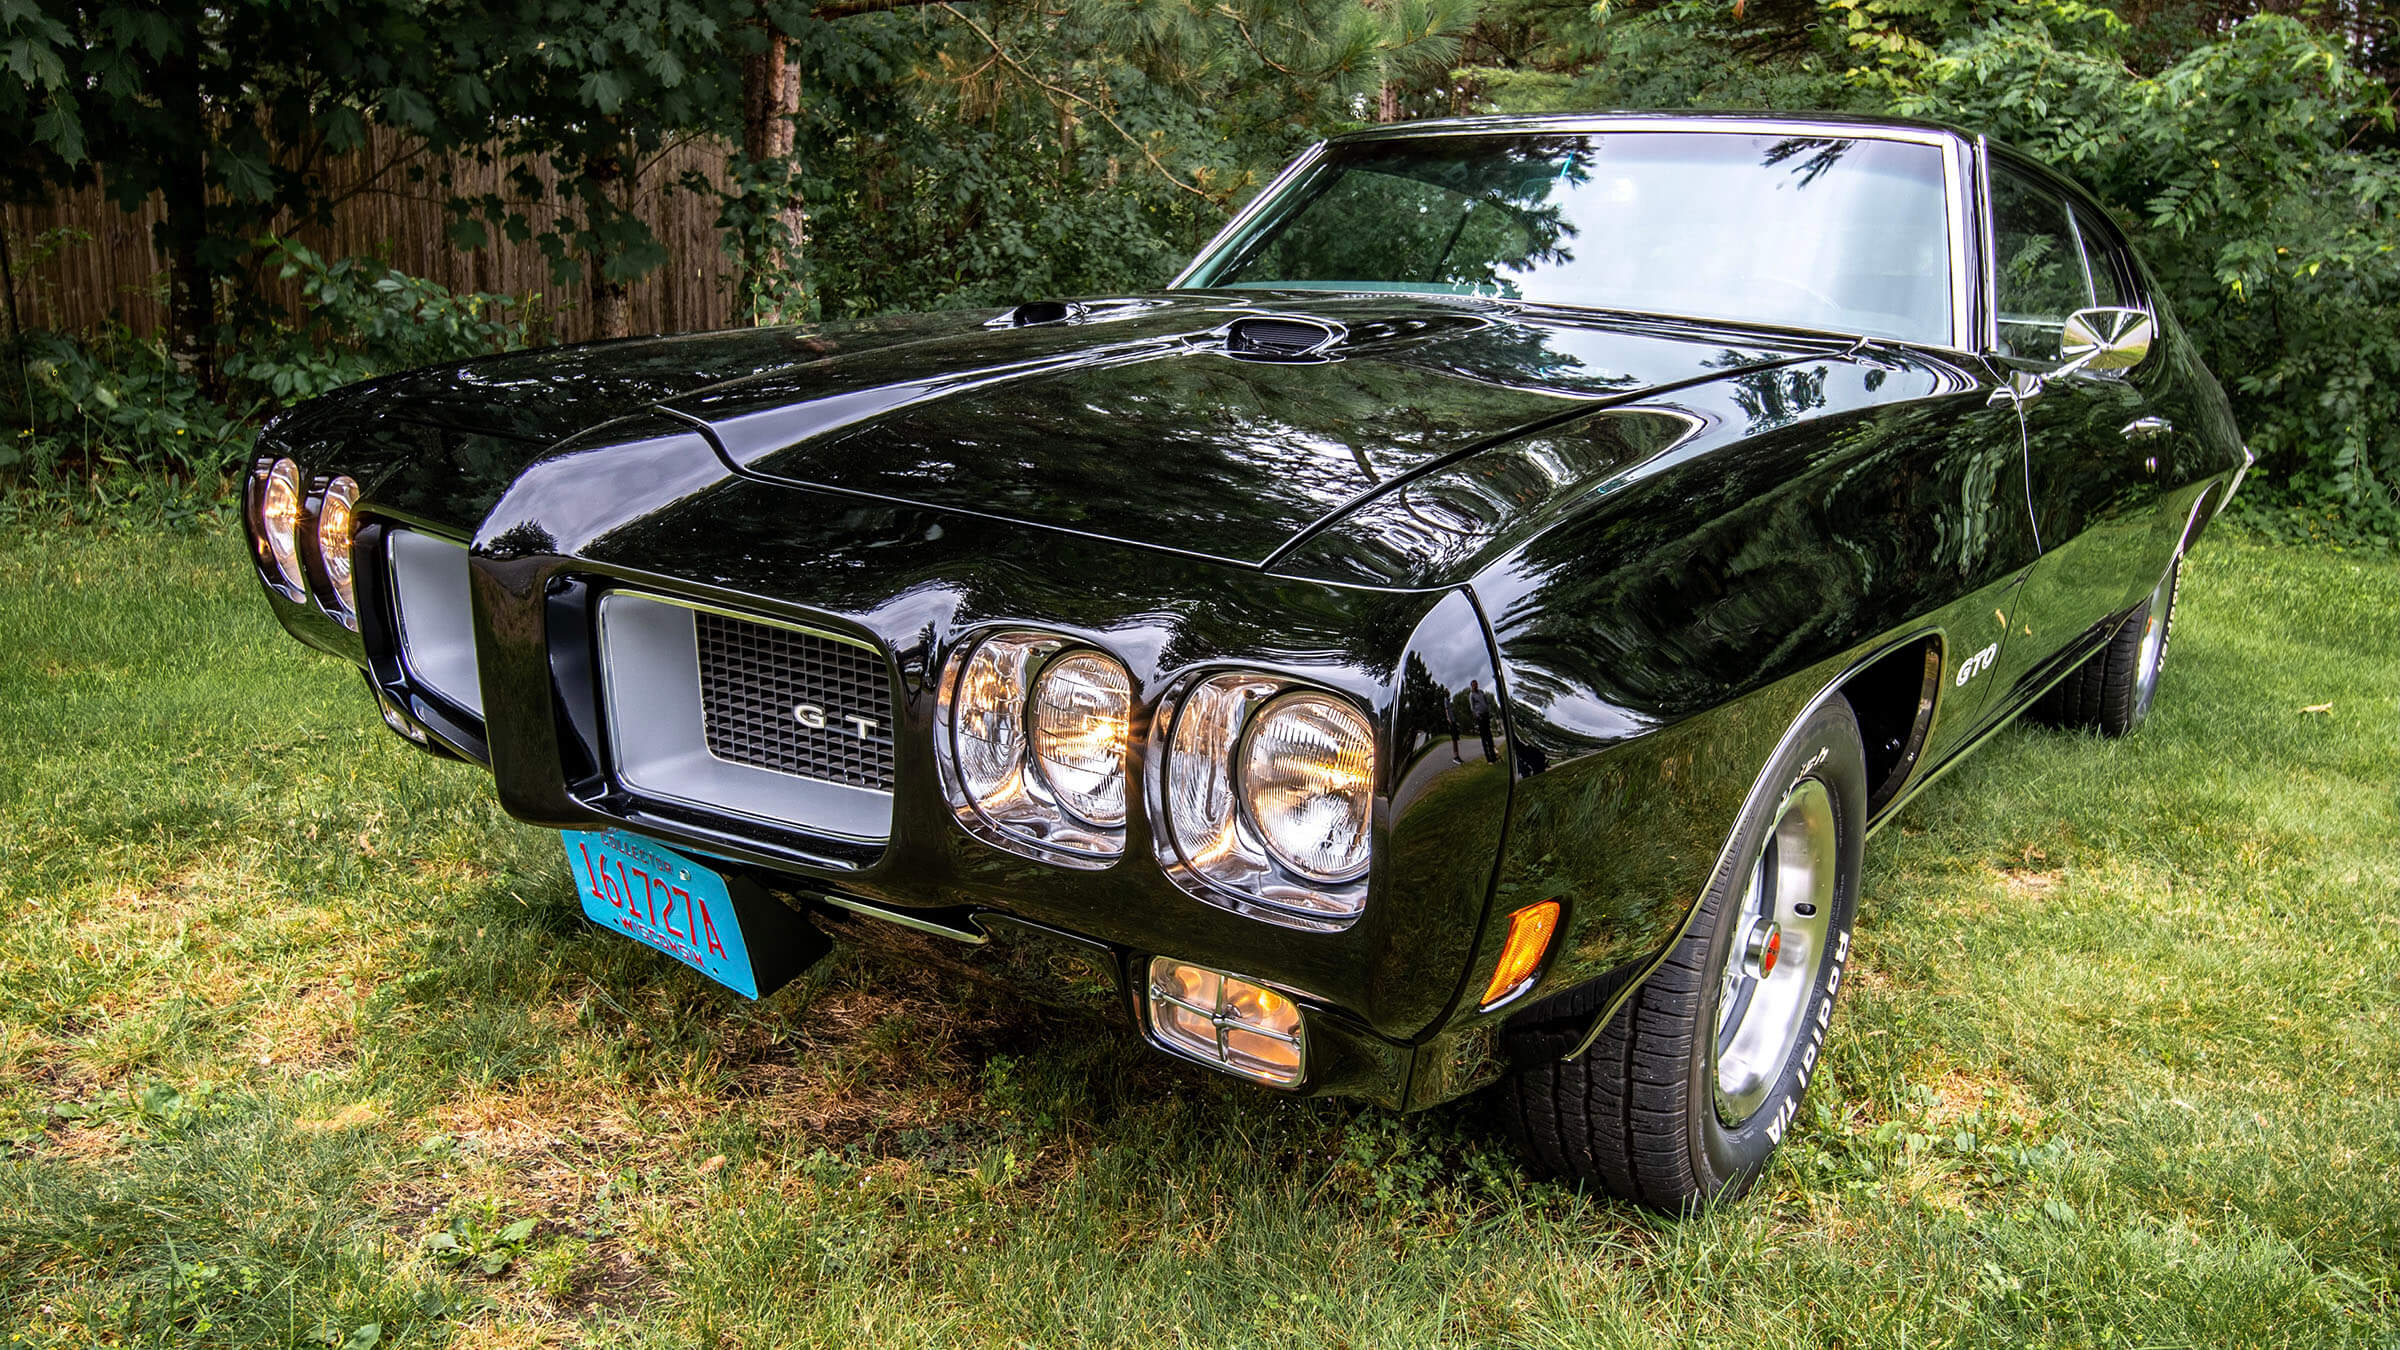
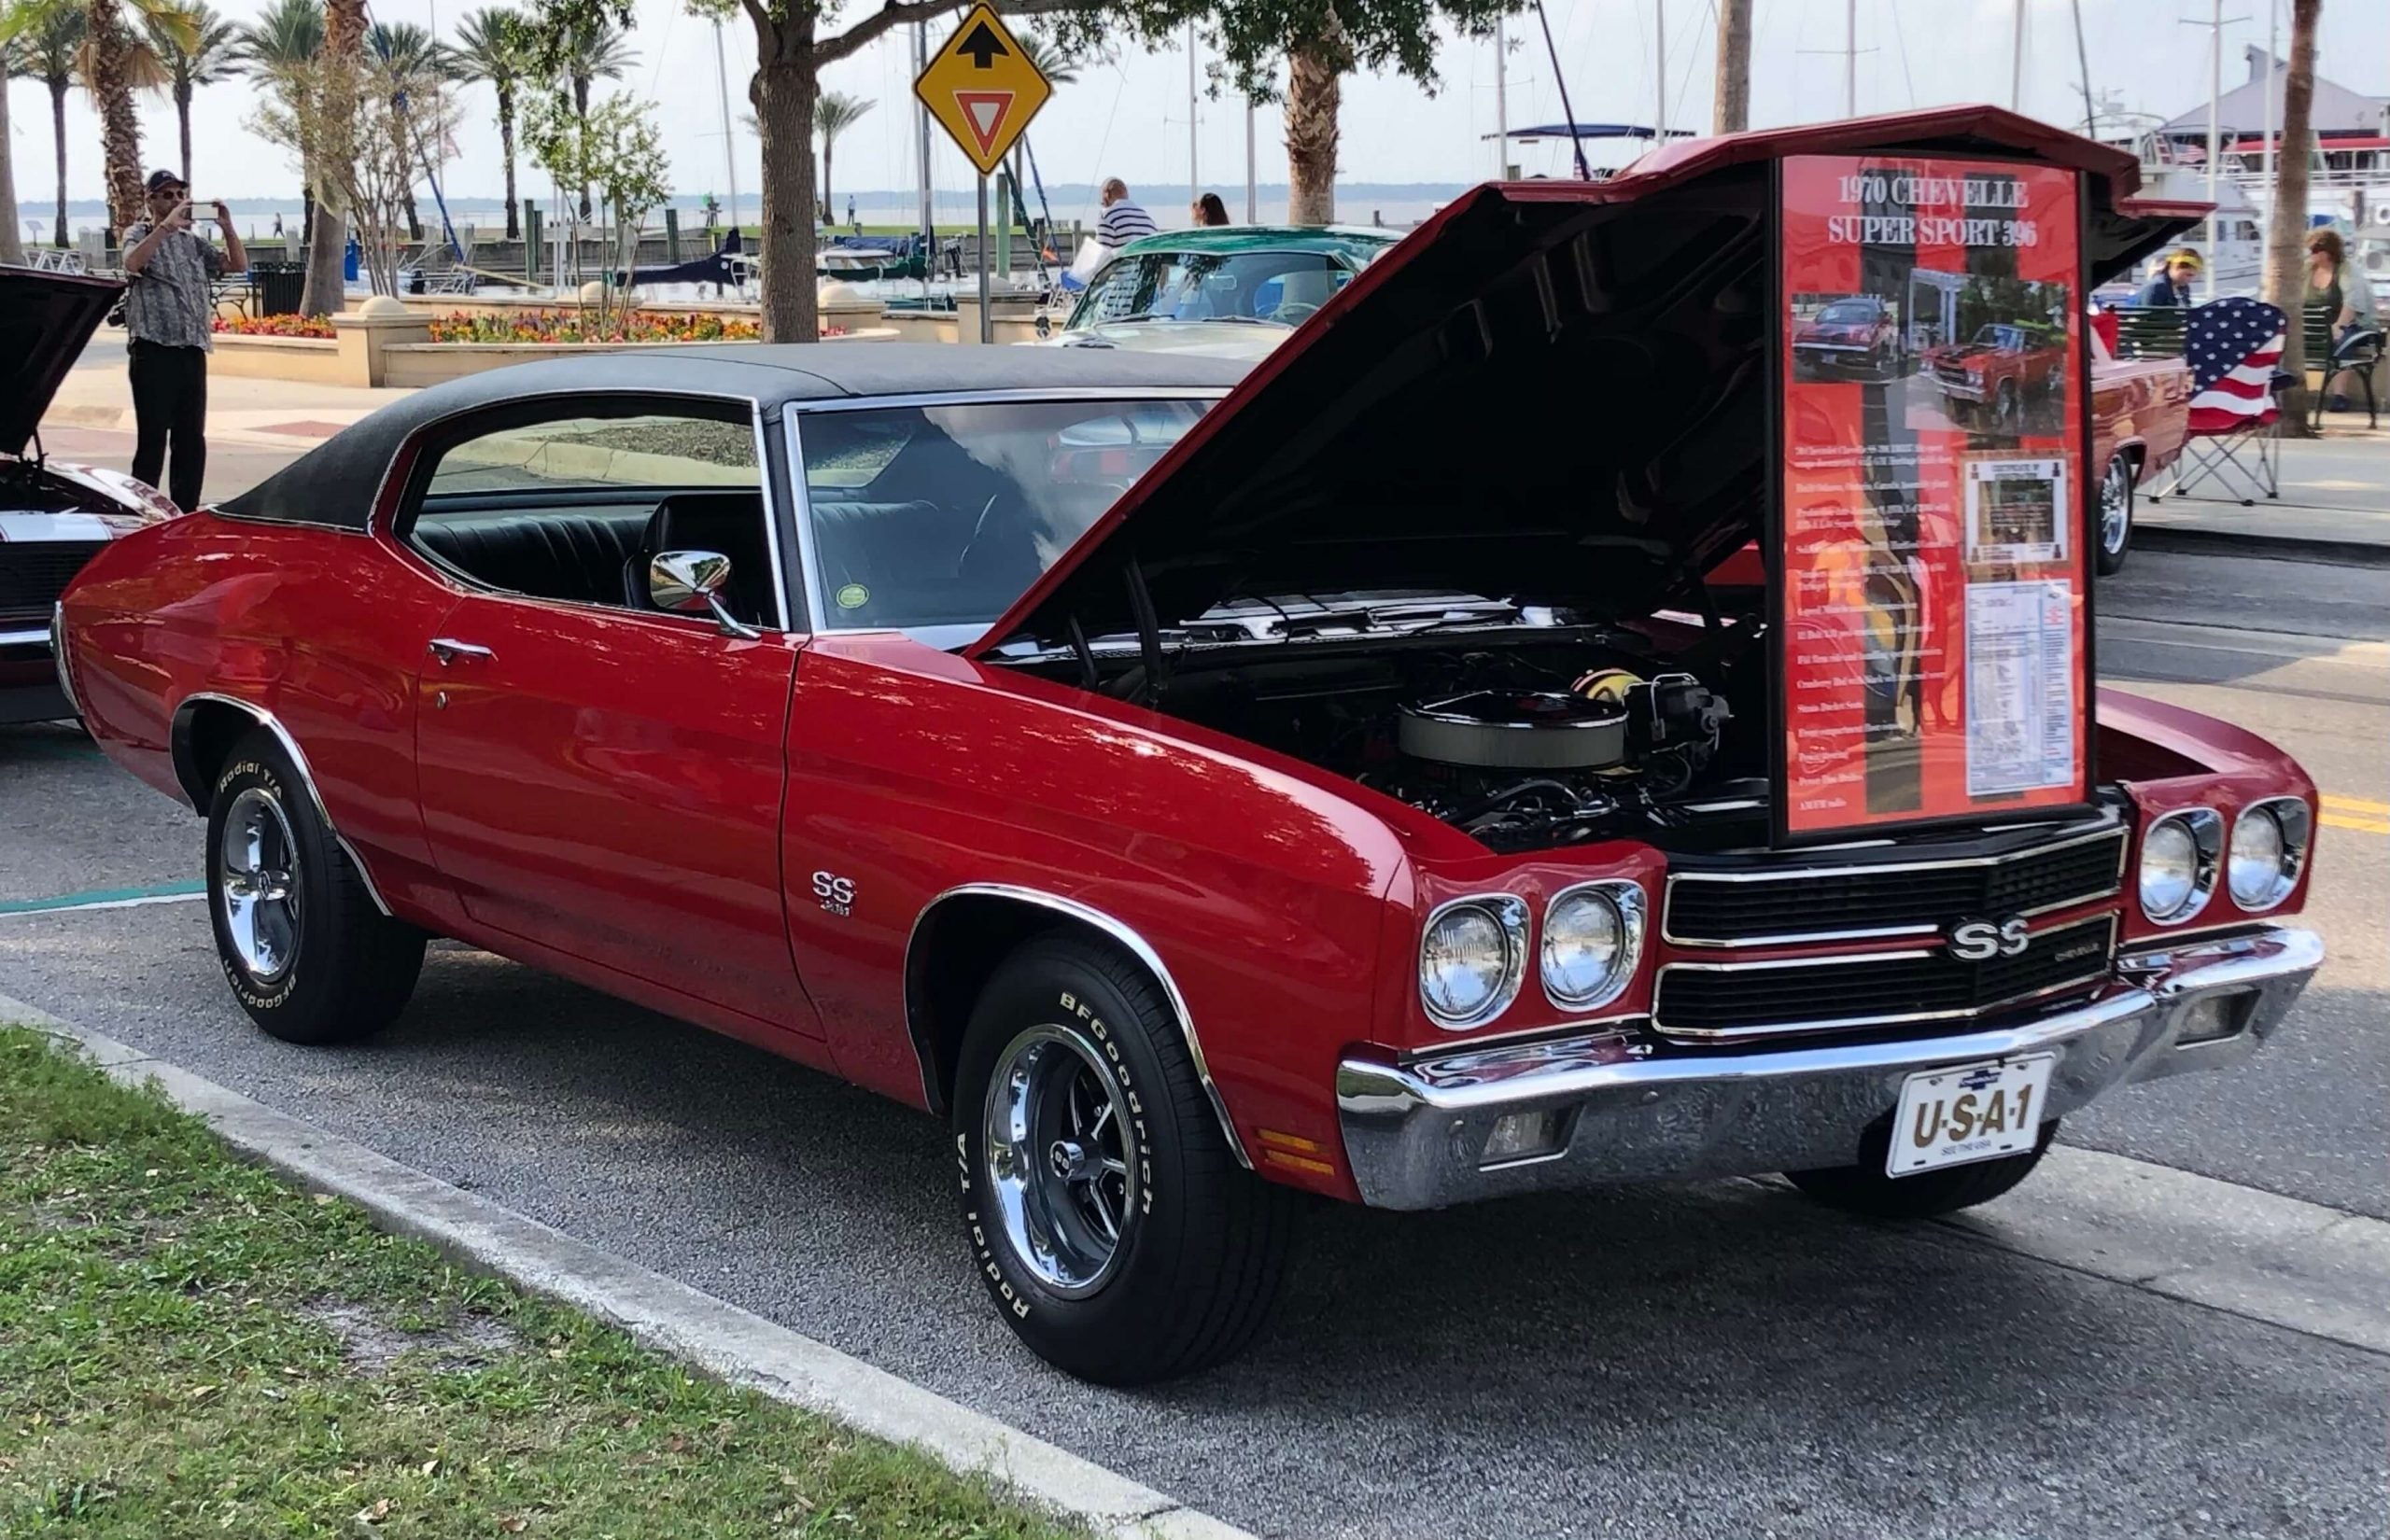
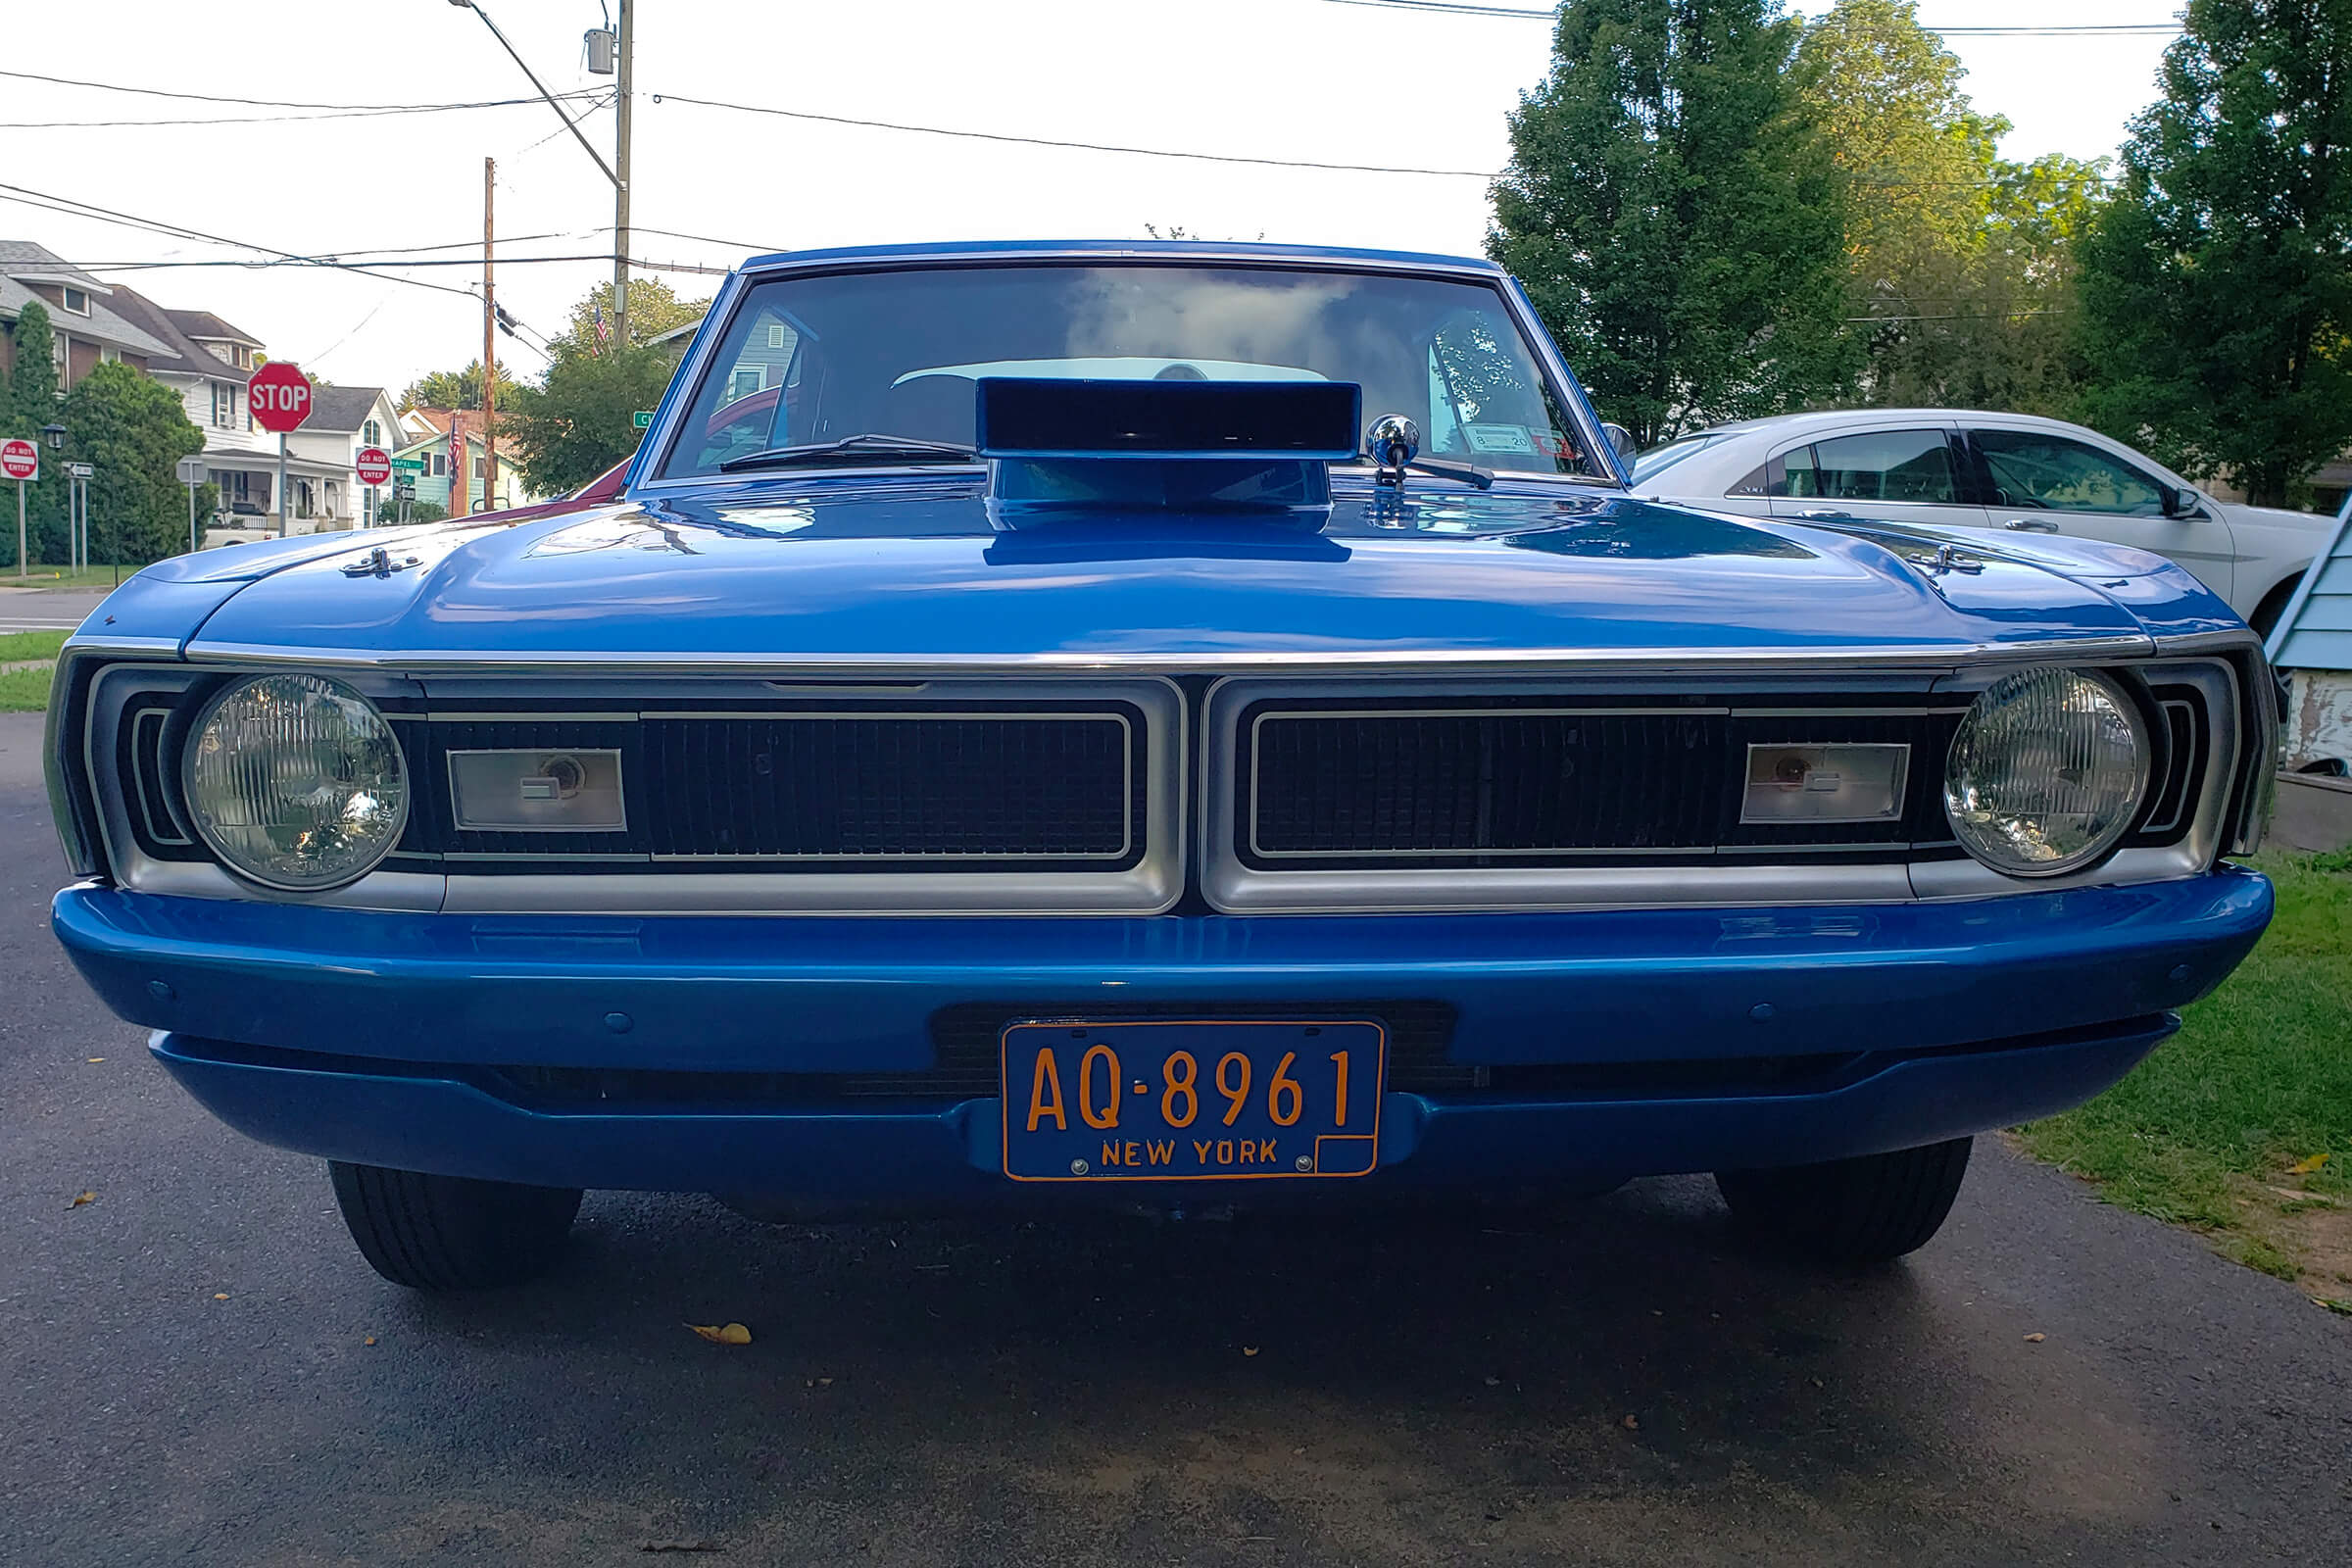
Even after putting a ton of time and money into replacing all of the other components of your vehicle’s interior, a shabby looking headliner can really hamper its aesthetics and value. Not to worry; compared to some of the other projects involved in your classic ride’s restoration, replacing headliners is relatively straightforward.
Finding the Right Headliner
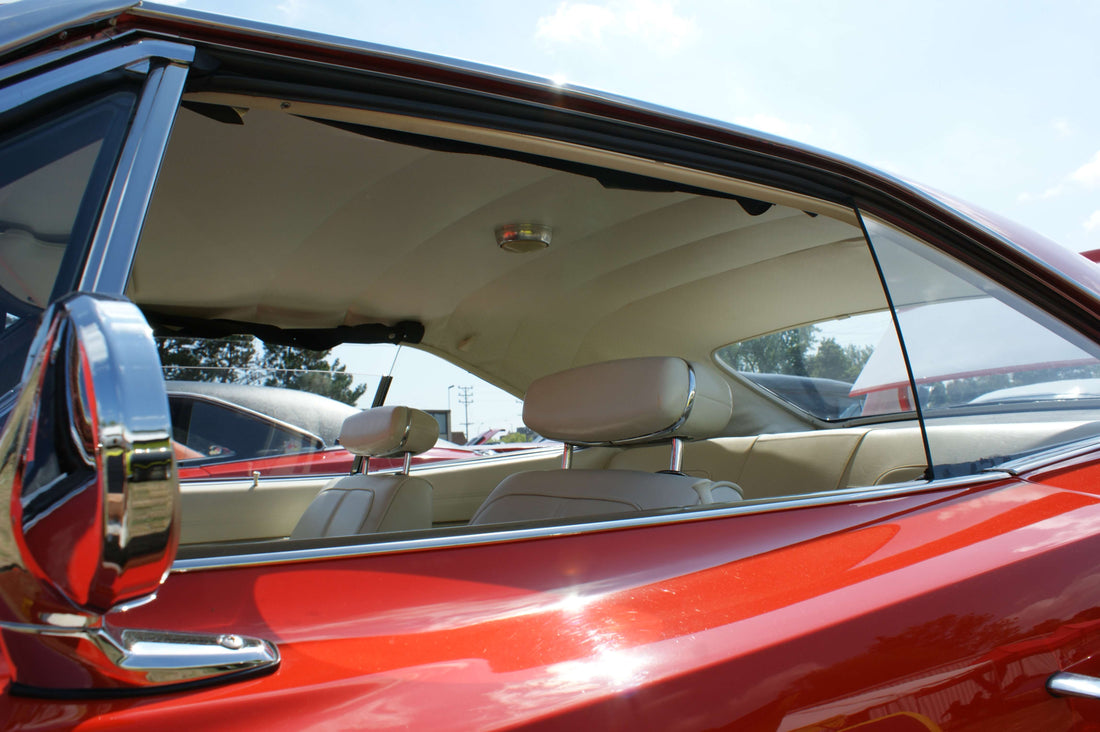
Obviously, the first step is to find the headliner you need for your restoration. We offer authentic headliners that are made to fit the original manufacturer specifications for your car’s specific make, model, and year. Assembled with heavy weight material and thread, the headliners are known for their long-term durability and built to last.
Tools Needed to Replace a Headliner
The first thing to do is ensure that you have all of the proper tools. For this job, you’ll need the following:
- A screwdriver
- Several single edge razor blades (or a straight edge knife)
- A wire brush
- Spray adhesive or contact cement
How to Replace Your Headliner
Are you ready? Then let’s do this!
- Use the screwdriver to remove all of the overhead trim pieces. This includes visor clips, dome lights, grab handles, coat hangers, and any other item secured by a trim screw. Carefully mark and group each piece together to make reattaching them easier.
- Remove the side trim panels running along the roof of the vehicle, then the front and rear trim panels (using caution not to break or bend them in the process). Loosen then side trim panels along the front and rear windshields to free the headliner board.
- Extract the headliner board through either the front or rear windshield. Take a quick glance at the foam lining the inside of the roof to see if it also should be replaced.
- On a separate work surface, inspect the headliner board and note areas where the headliner material overlaps the outside edge (these are where you’ll want to leave excess new material to secure around the board). Remove all of the old headliner and discard it.
- Use the wire brush to scrape any remaining foam off of the underside of the board, being careful not to damage the board itself in the process.
- Place the new headliner material (foam side down) on the board. Fold it in half to expose one half of the headliner board’s underside. Spray a liberal amount of adhesive on the exposed board and the underside of the material. Once this has dried, affix the material to board, taking care to avoid wrinkles. Repeat the same process on the other side.
- Using the razor blades or straight edge knife, cut away any excess material along the outside of the board (preserving some excess to fold over on the areas you previously noted). Cut openings for the dome lights and other trim pieces, as well.
- Return the headliner board to the vehicle and reapply it and the trim pieces in the exact opposite order used to remove them.
So now that you feel confident enough to tackle a headliner repair or replacement project, the question is where to find the right headliner material. That’s easy; give your friends at Legendary Auto Interiors a call. There’s a reason why we’re the preferred provider of high-quality restoration materials and advice to classic car enthusiasts such as yourself. Legendary
headliners and trim accessories are much higher quality than others available on the market, and our original reproduction headliners are truest to the original versions in the industry. Legendary has headliners for a wide variety of years and models in the Chrysler and General Motor families.
Contact us anytime!