
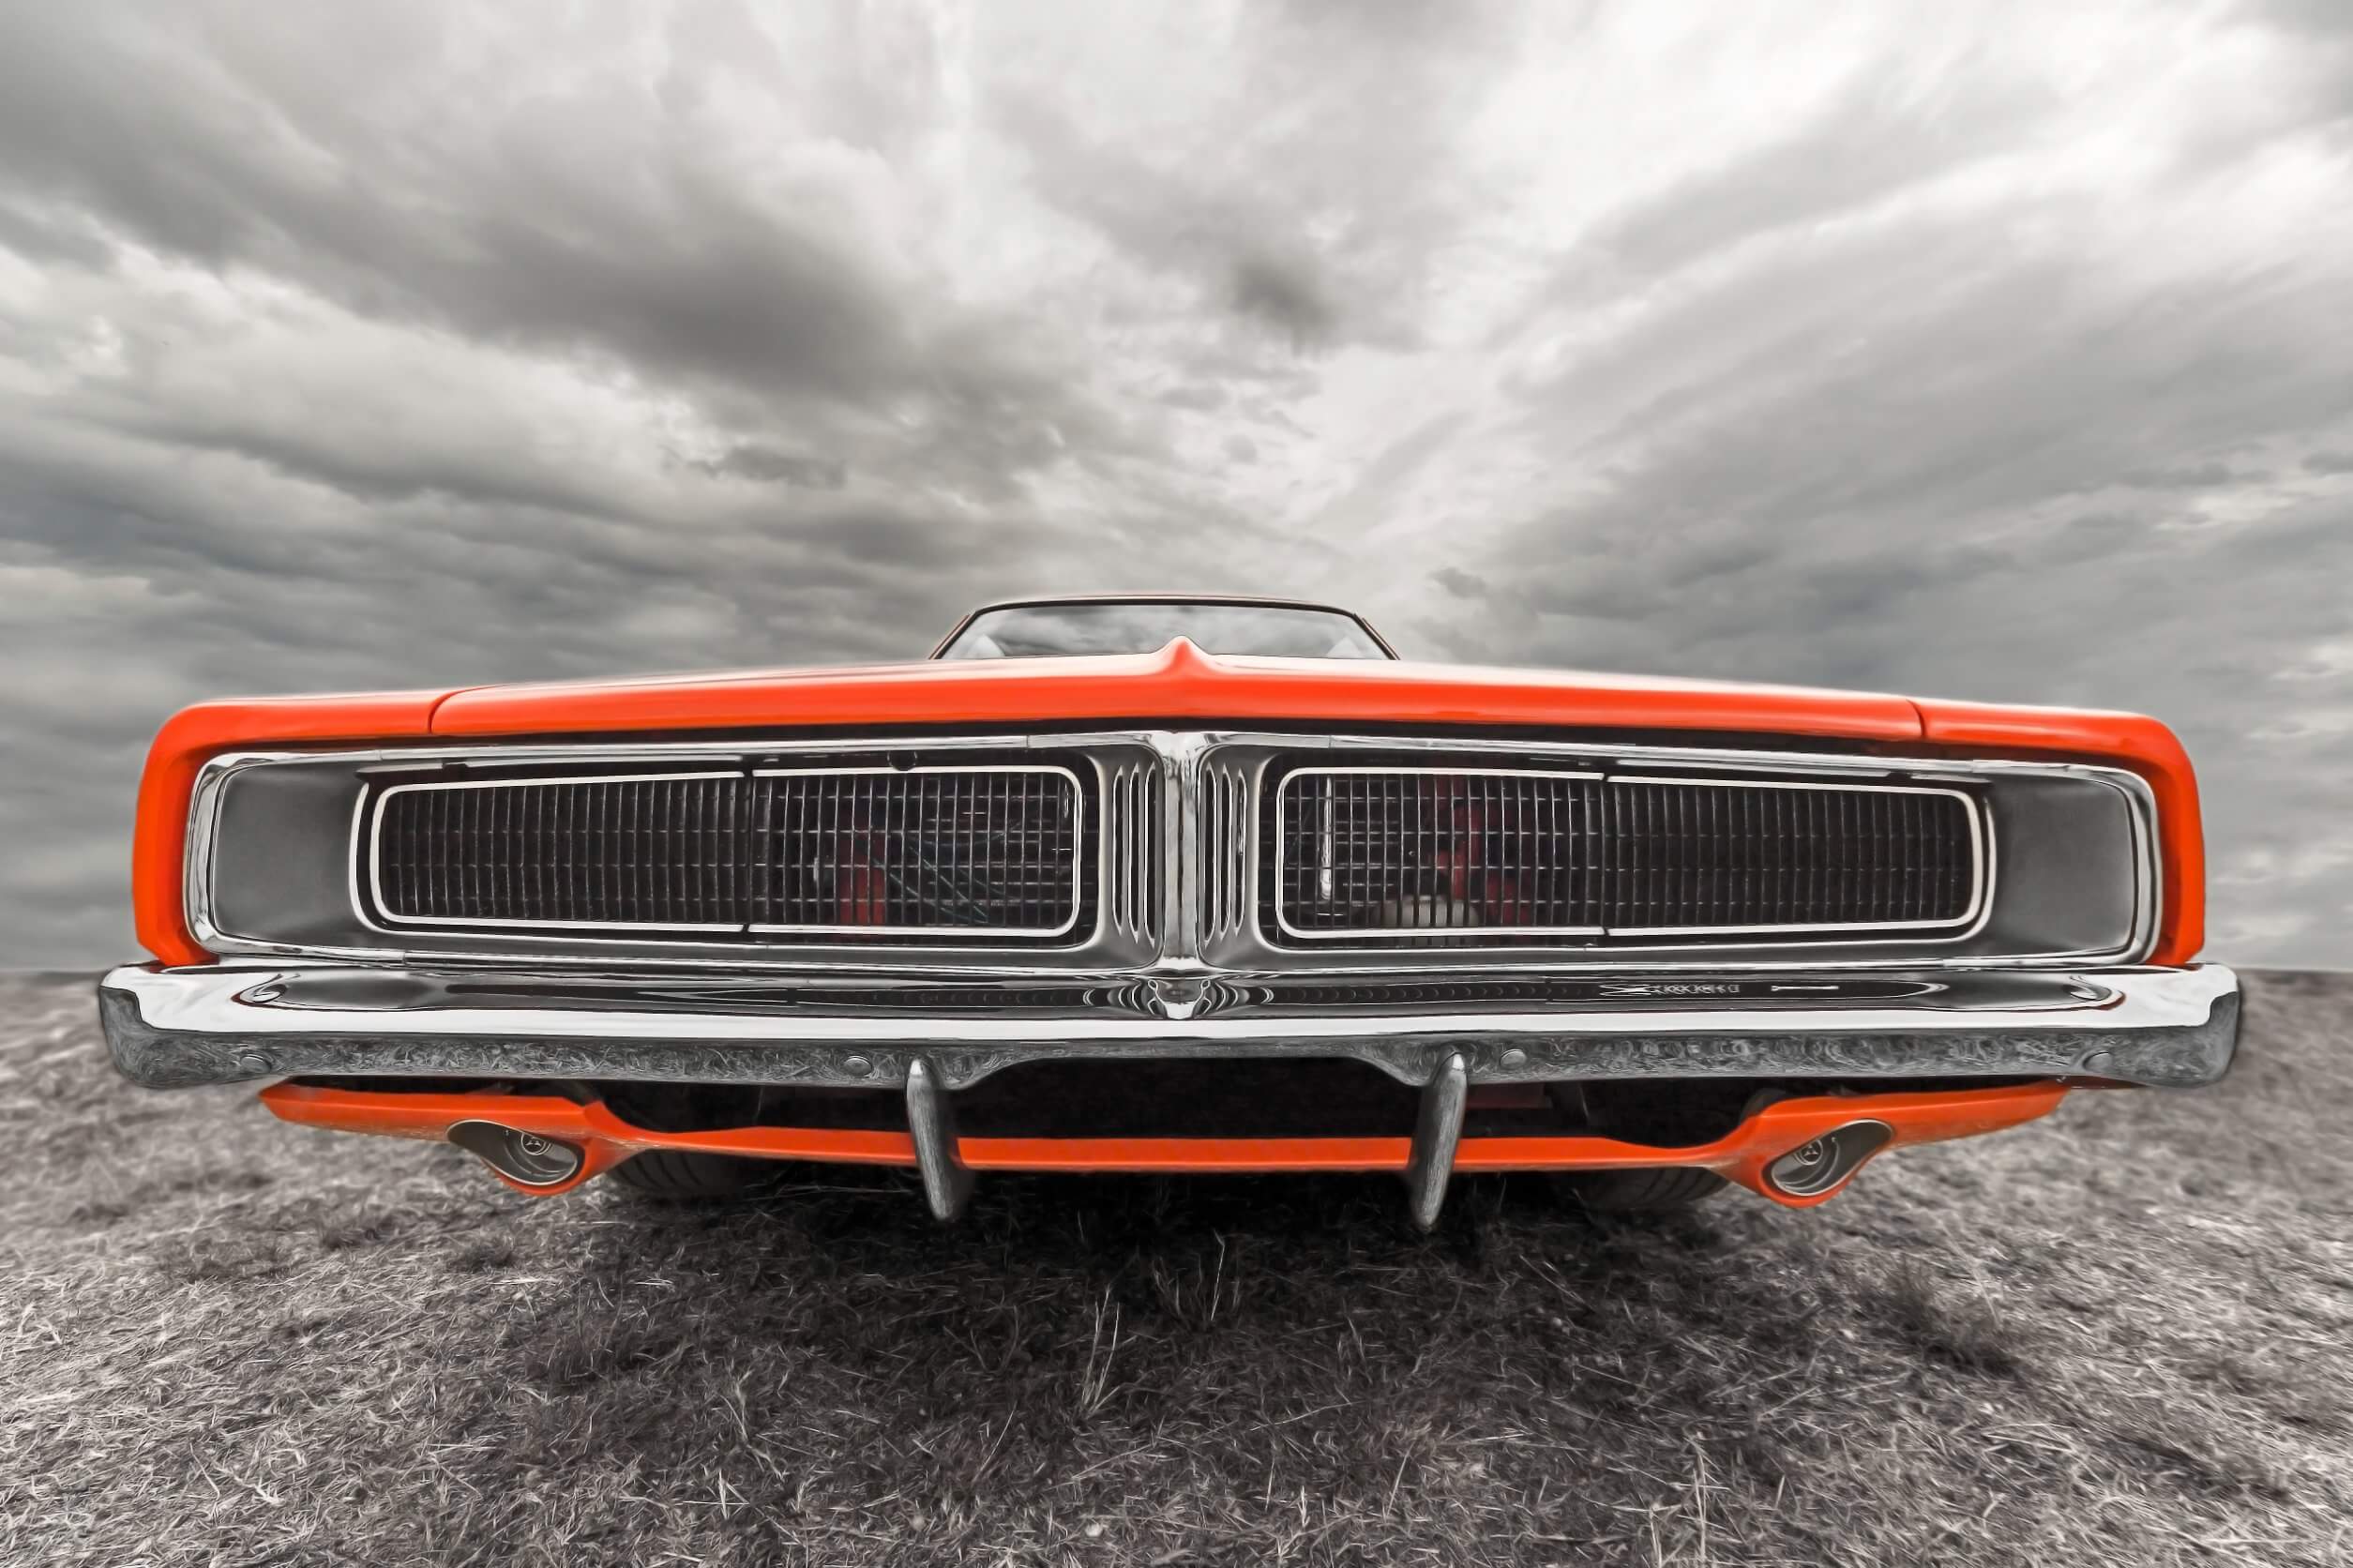
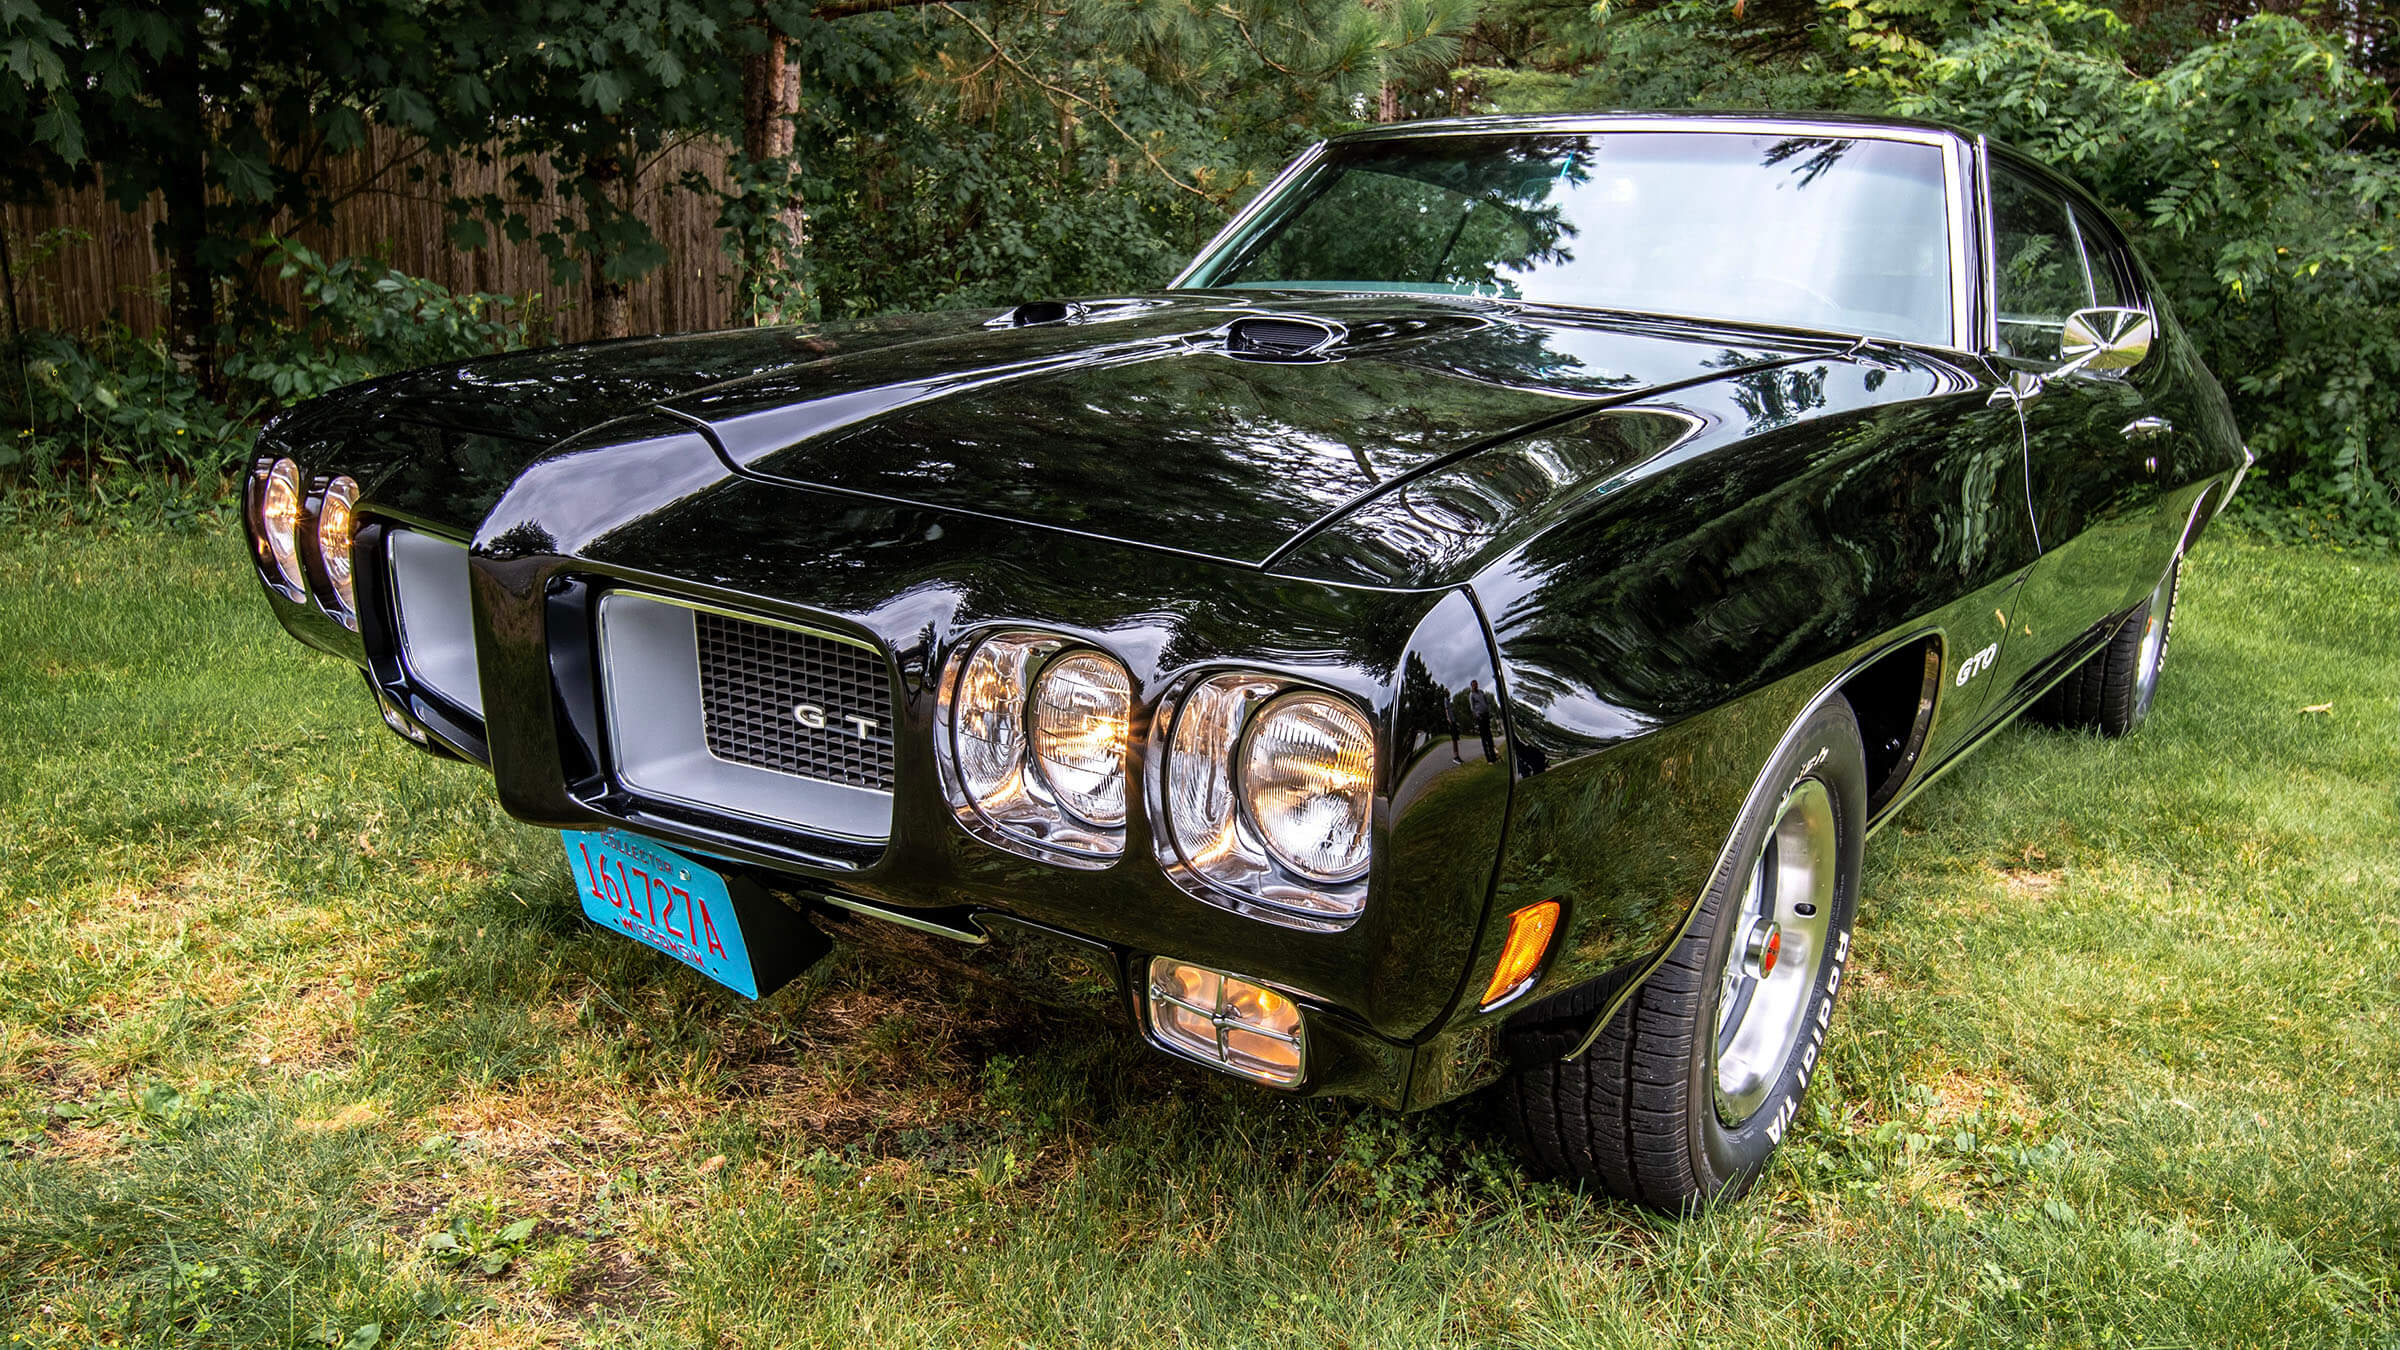
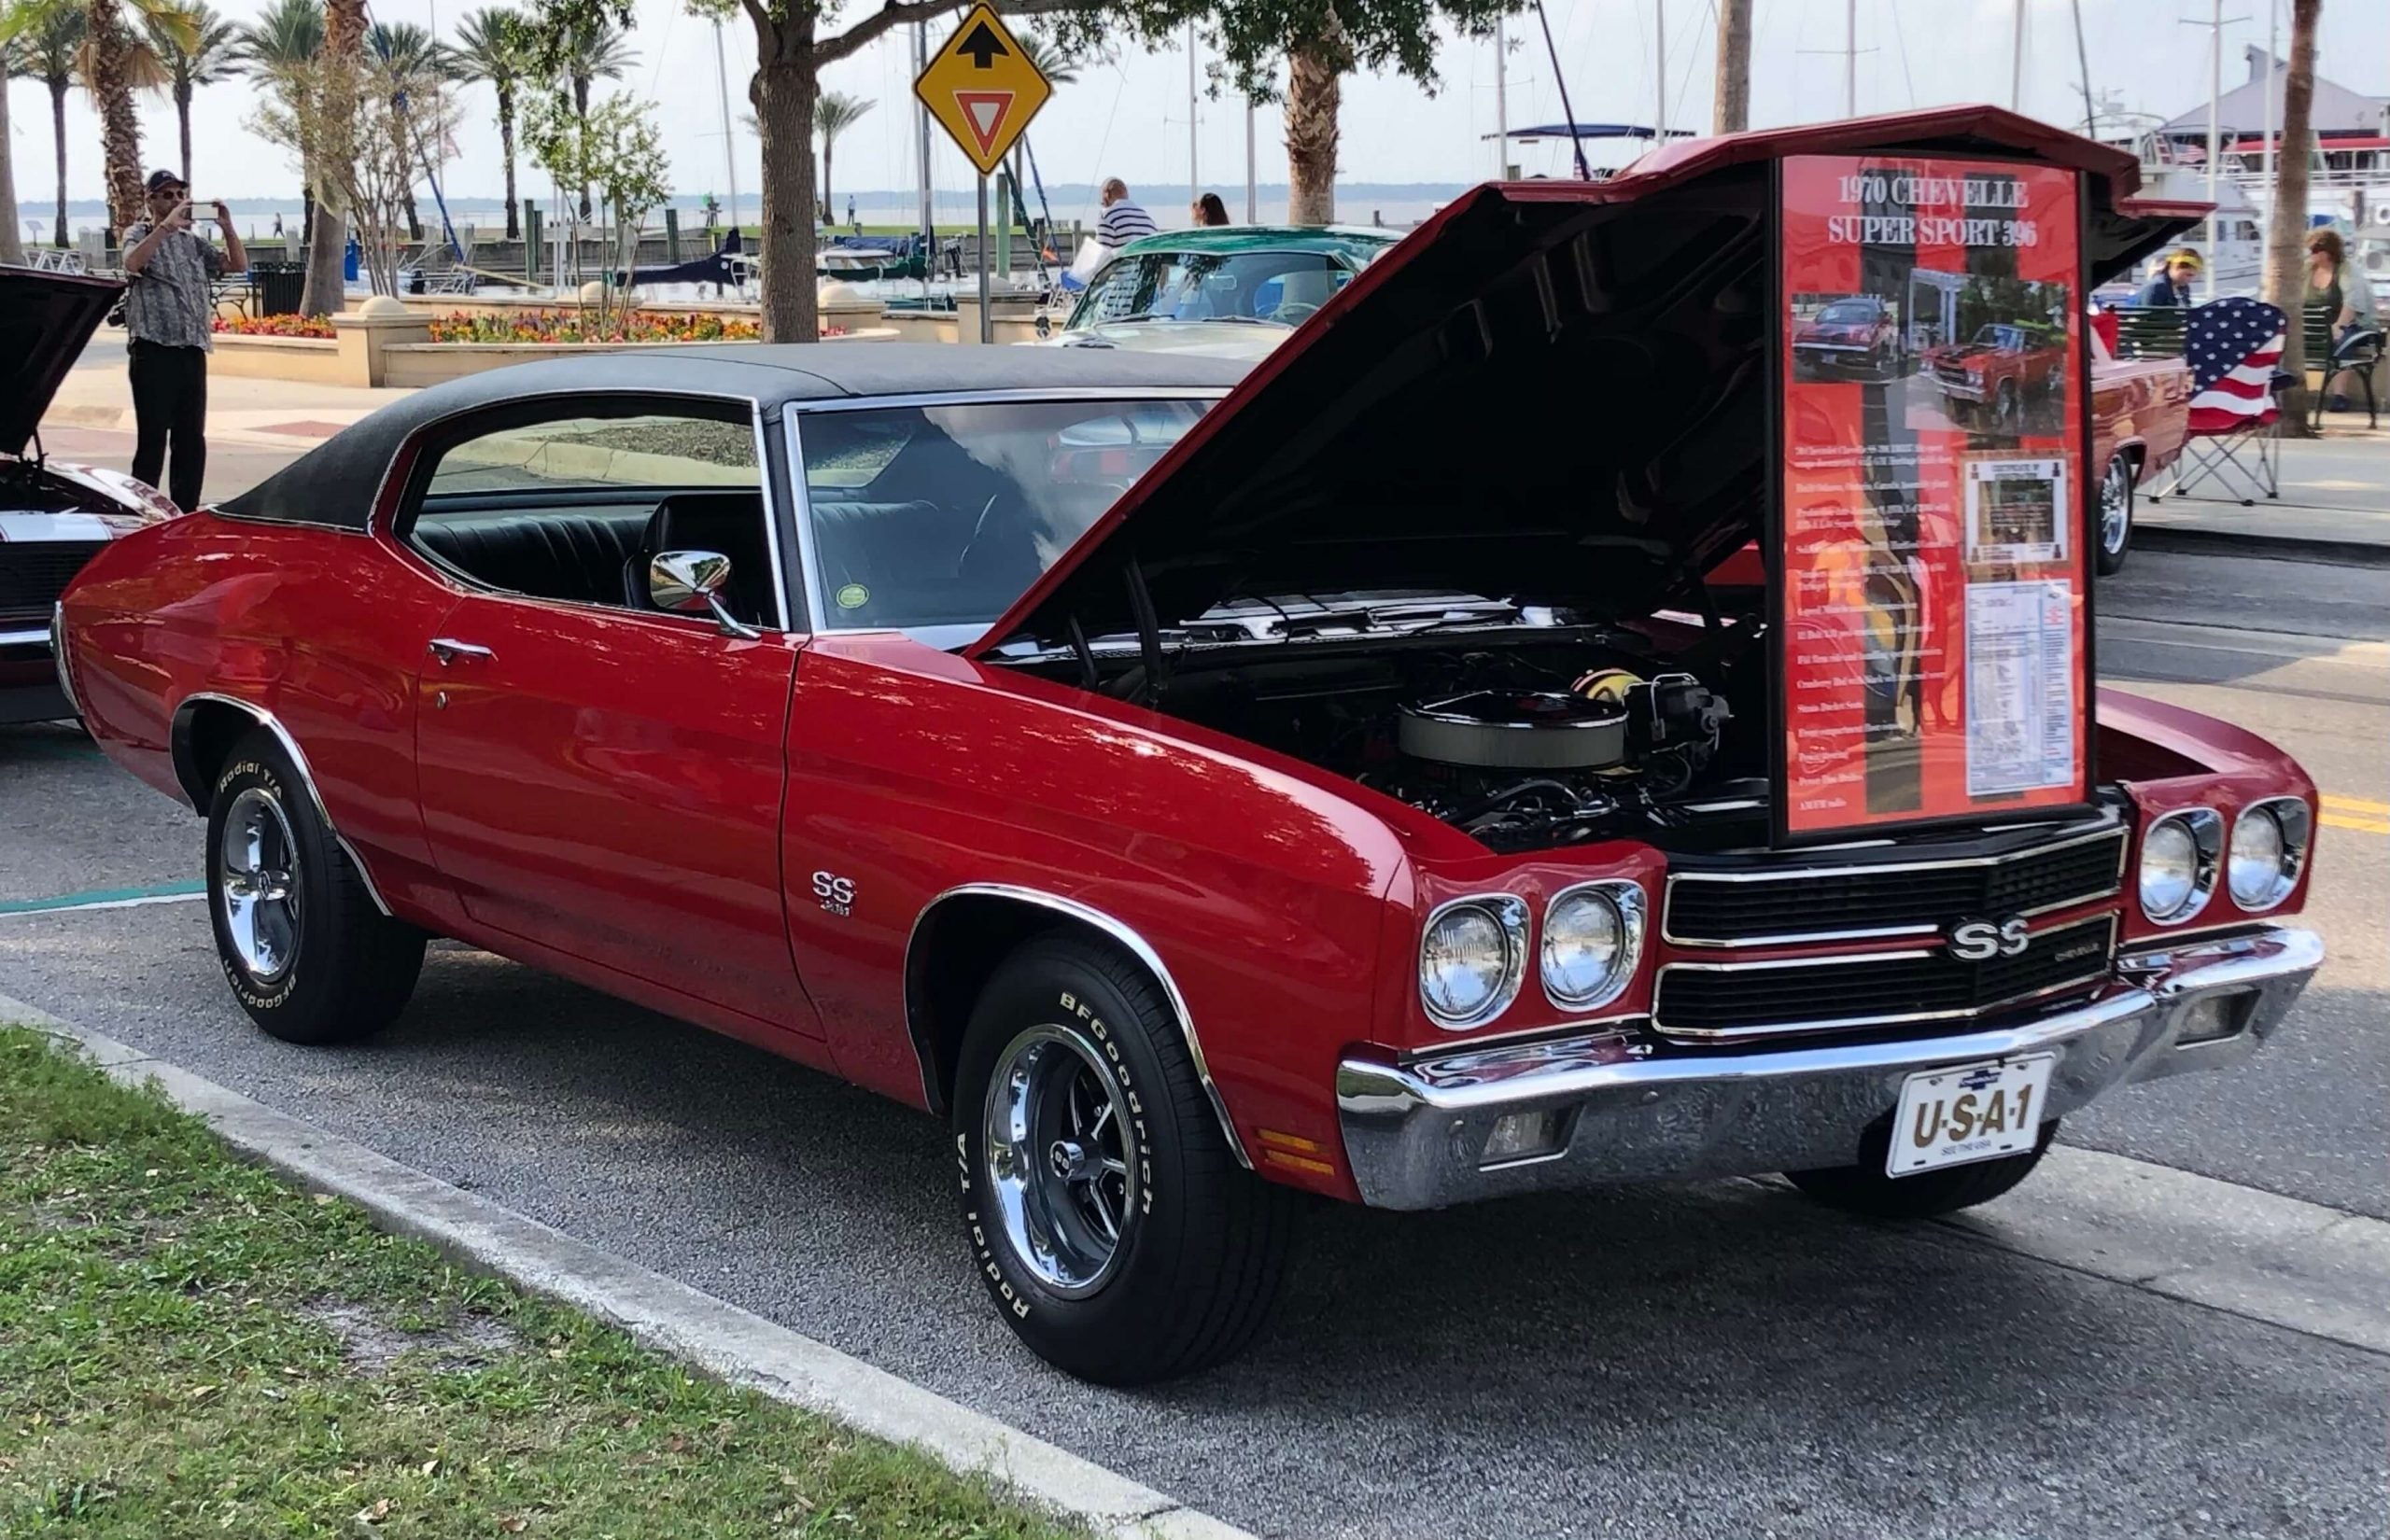
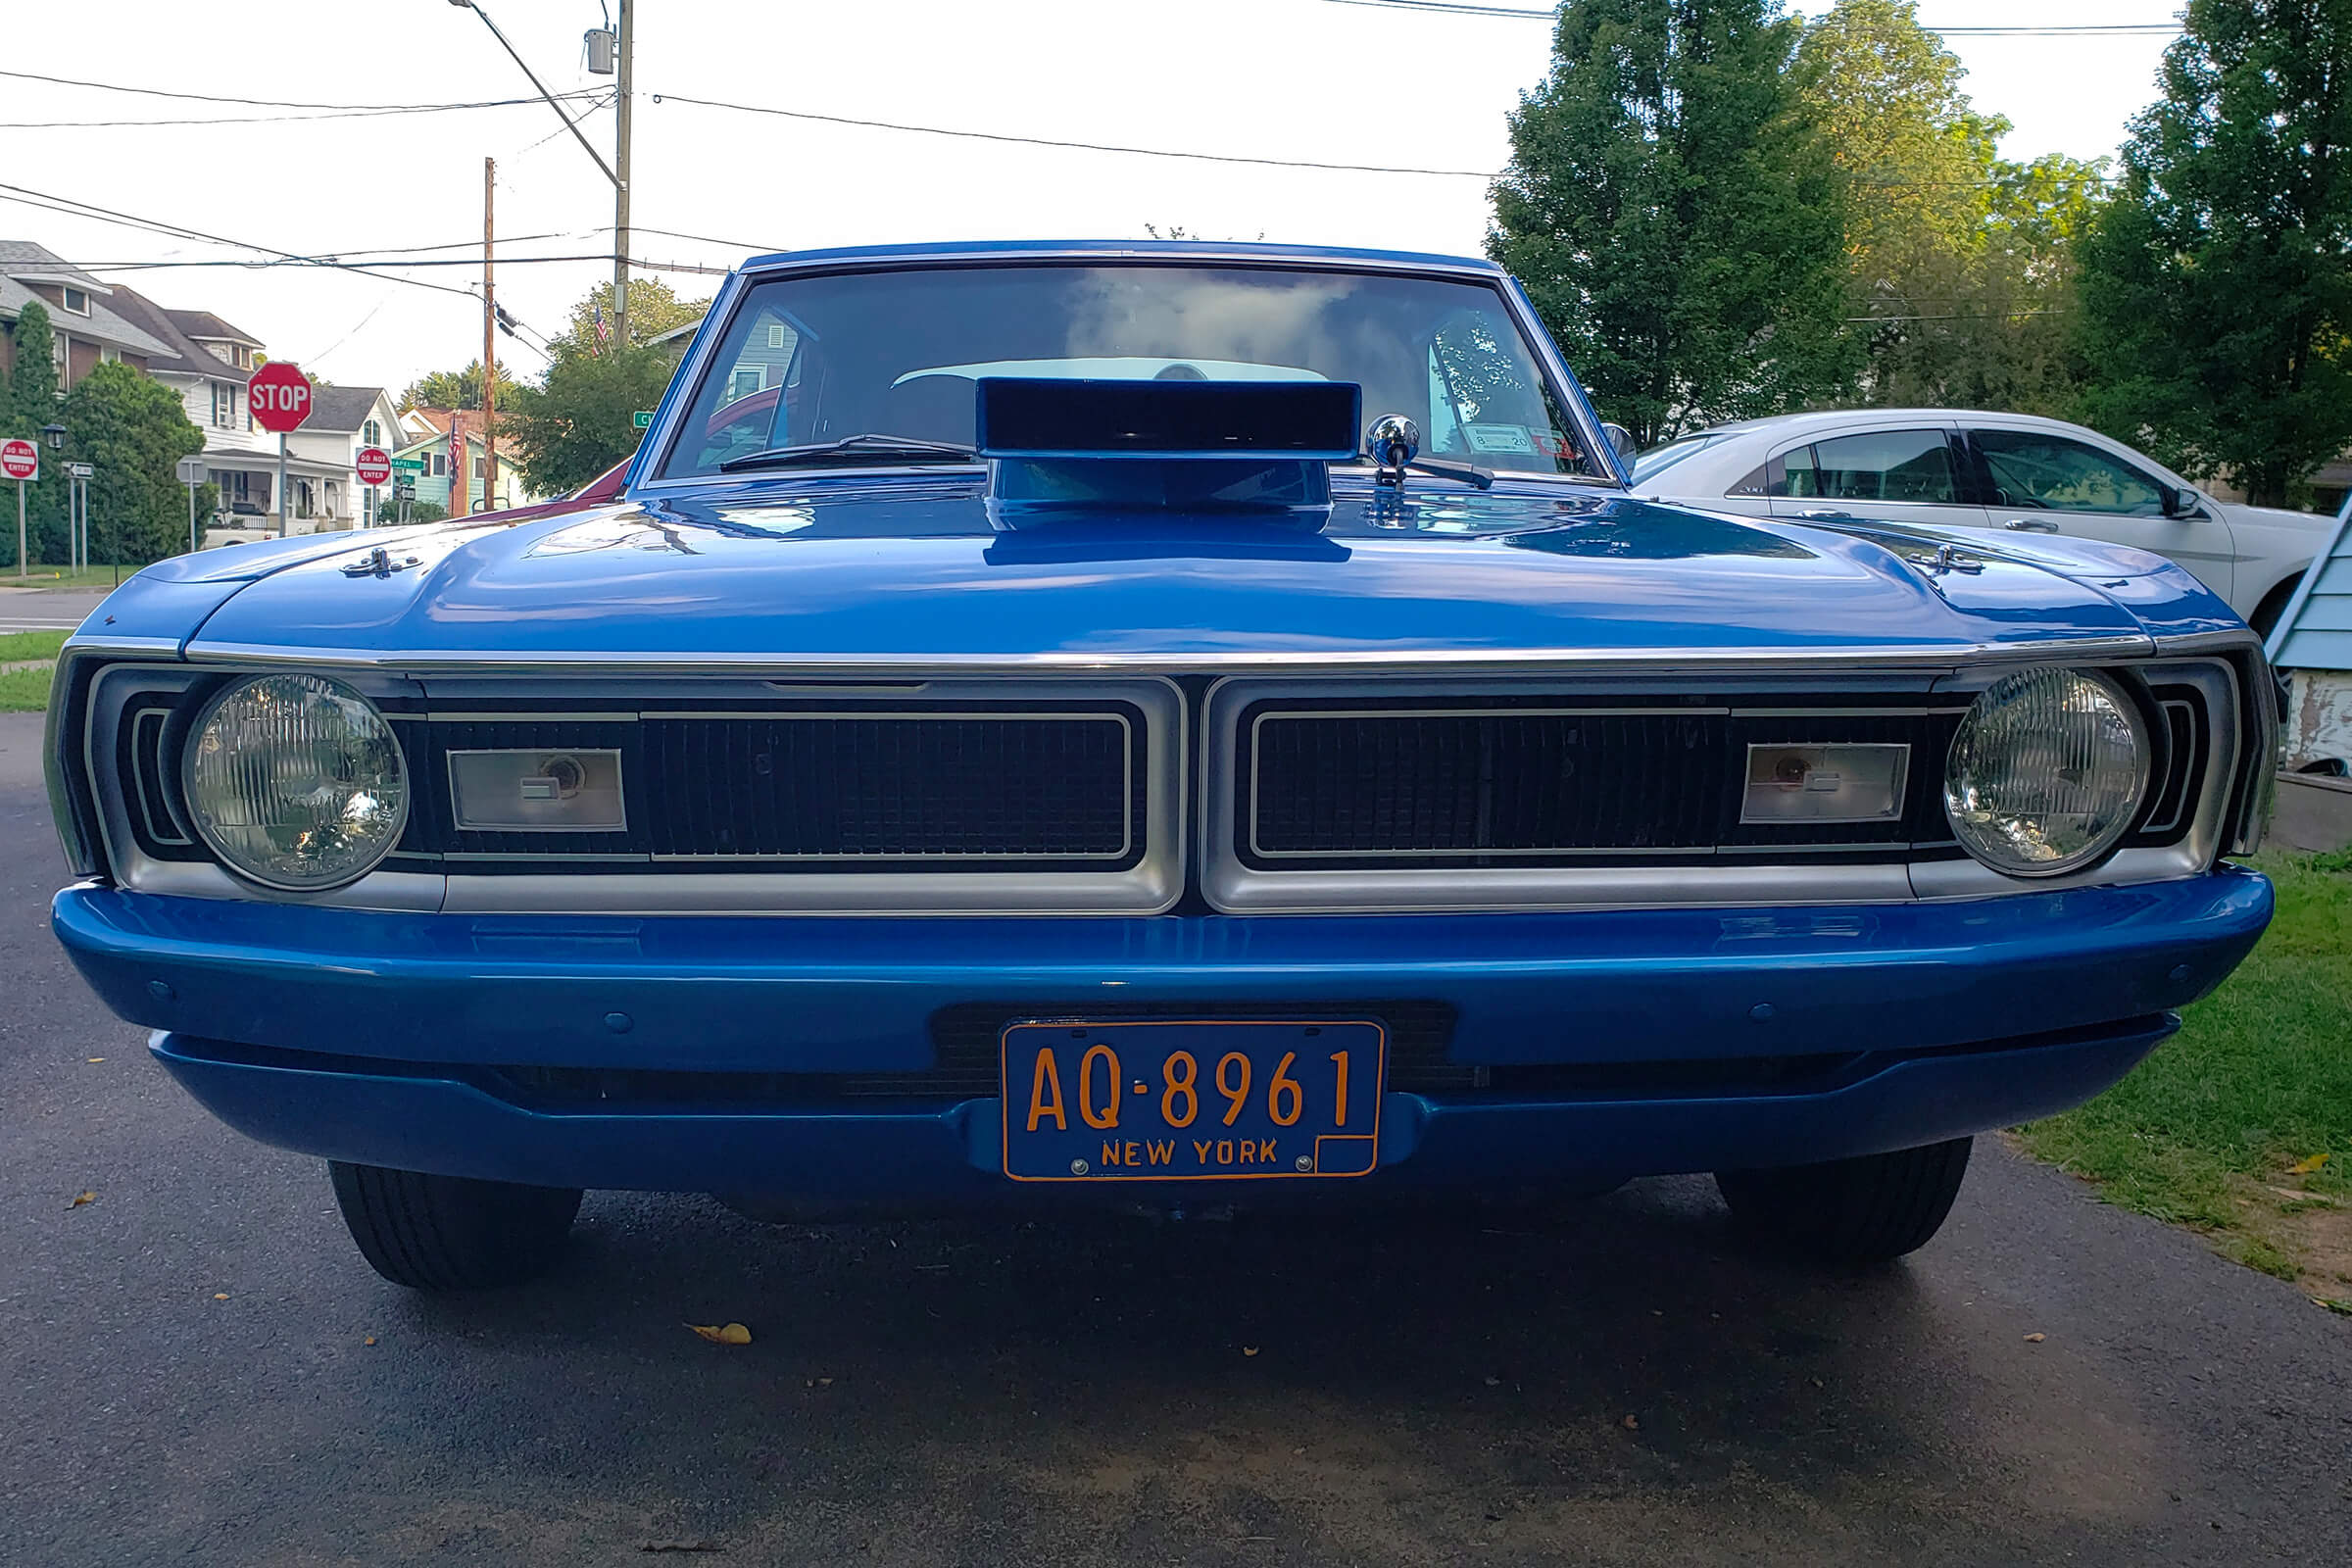

Document Everything!
While proceeding with your classic car restoration, remember to record every detail of what you do. Take pictures of all vehicle components before disassembly, and record the origin and detail of each individual part before marking and bagging it with the other pieces of its component system.6 Steps to Vehicle Disassembly
Step 1: Remove the vehicle’s trim
Locate the screws and fasteners that are holding on bumpers, grills, lights and side trim. Take your time and be delicate as you remove them, as these can be some of the most expensive elements to have to replace.Step 2: Remove the glass
Take the windshield out first by removing the interior trim and then releasing the rubber molding holding the body in place, pushing outward from the inside rather than pulling. Do the same with the rear window. Remove the door trim panels to get to the side windows.Step 3: Take out the interior
Start with the door panels, then move on to the seats, the remaining interior window trim, and then the carpet and floor insulation. Remove the dash and then proceed onto the steering column, pedals, and heater/blower box.Step 4: Disassemble the drivetrain
Now you’ve reached the nitty-gritty of your classic car restoration project. Remove the battery, drain the engine of any remaining fluids, lift and secure the engine, and remove the rear assembly. Next, take out the suspension from the back to the front.Step 5: Remove the wiring
Begin by removing the wiring harnesses in the rear feed, and then move on to the engine bay. Finish be taking out the harness in the dash.Step 6: Strip the paneling
Before taking this last step, find out the exact body type of your vehicle. Whether it’s unitized, monocoque, or body-on-frame will determine how the paneling is mounted (and how it should be removed).Conclusion
Sounds simple enough, right? Not to worry; countless other classic car enthusiasts have traveled down this road before. If they did it, so can you. Know, too, that there is help available with your classic car restoration project. We here at Legendary Auto Interiors have all the interior materials you’ll need, whether that be seat upholstery, door panels, floor mats and more. Plus, we’ll even help you with the installation if you’re too nervous to do it yourself. Contact us today to discover all of the products and services that we offer.