

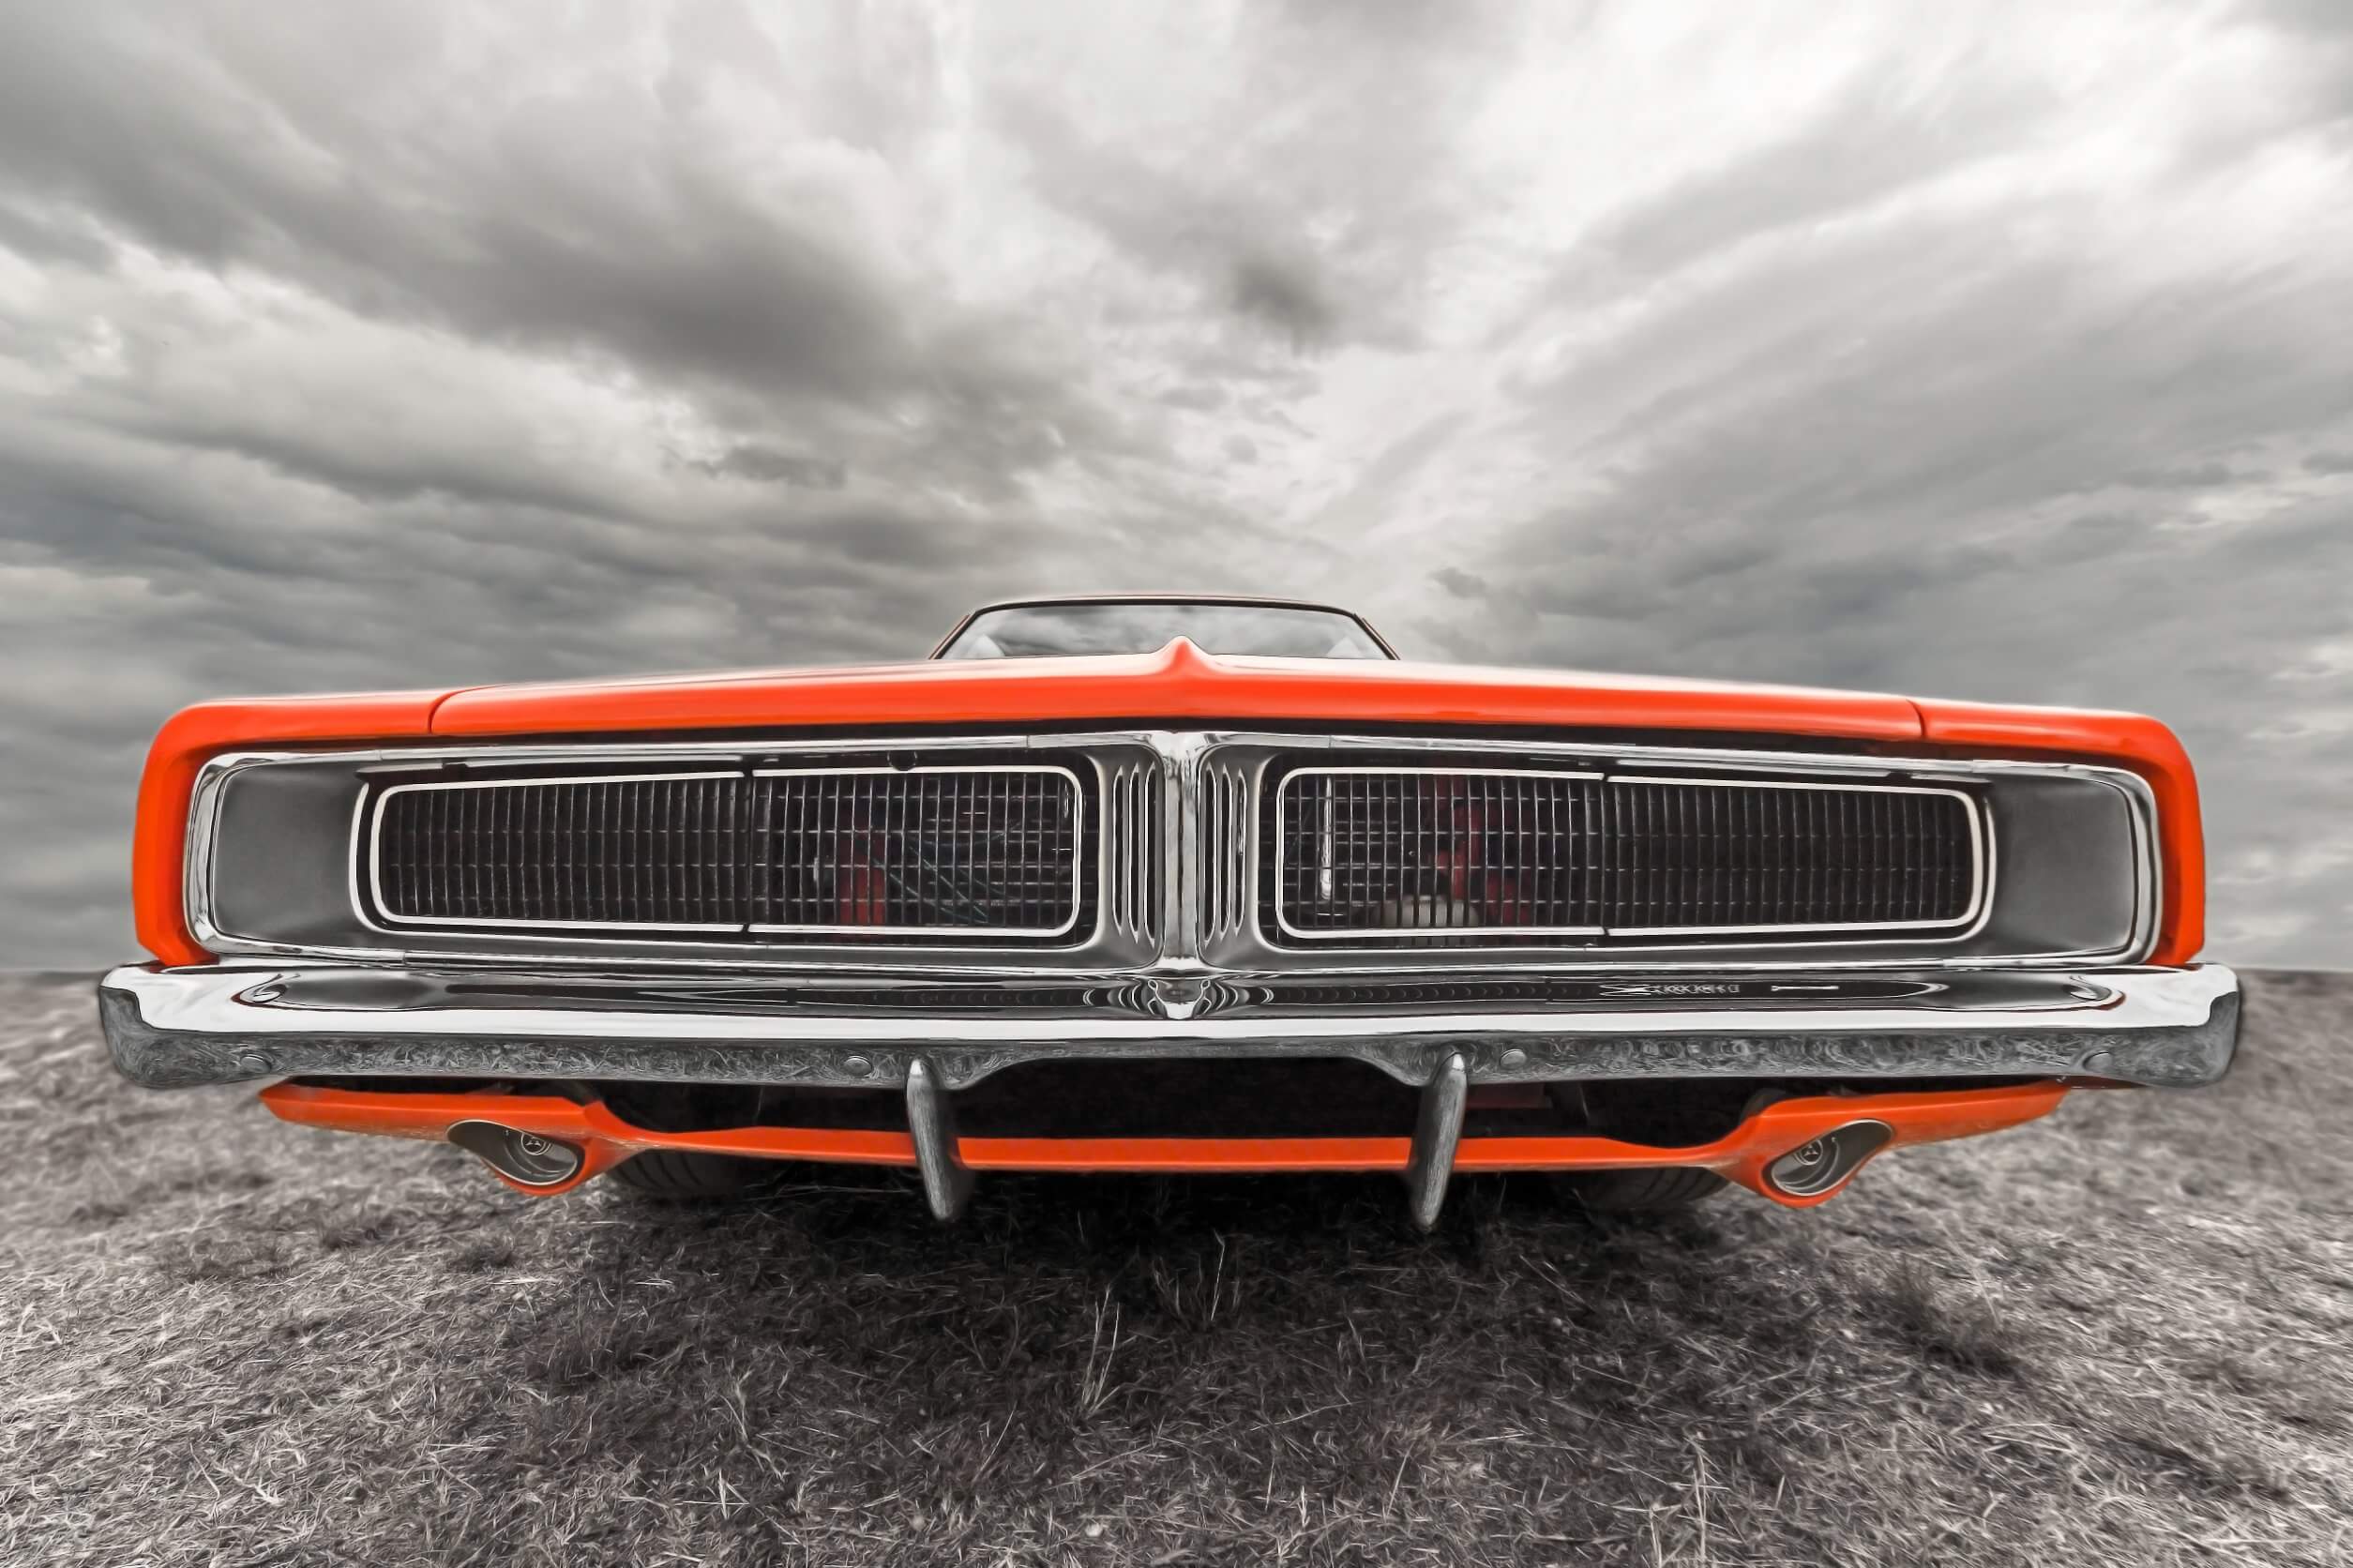
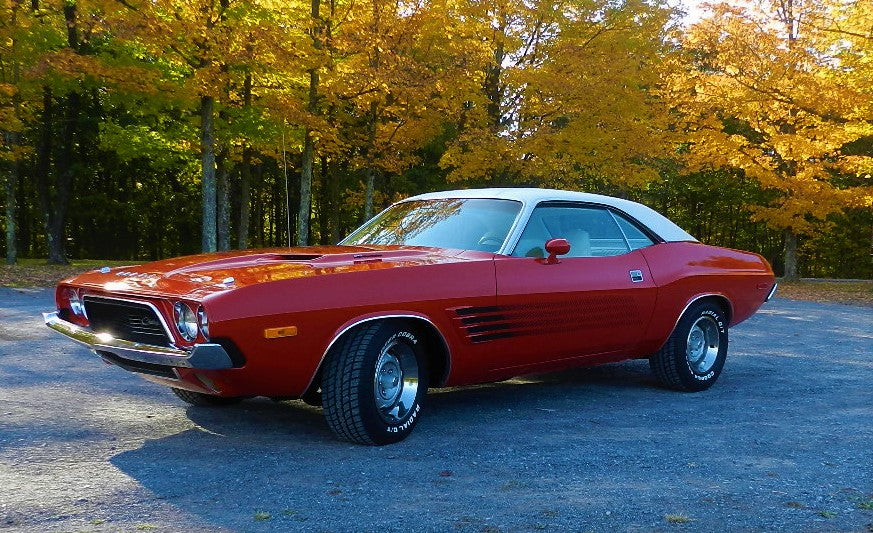
Select the Right Classic Car Project
First, you need to find the appropriate vehicle for your project. Now is not the time to pick your favorite classic car--unless that also happens to be what appeals to potential buyers. Keep an eye on websites like Craigslist and AutoTrader to see which classic cars sell quickly. Once you have an idea of best sellers, you can use these sites to find your project, or search your local newspaper’s classified ads. After you’ve connected with the seller, look closely over your potential purchase. Extensive rust on the car’s body or other places can be expensive to repair. Missing and broken parts can be hard to replace, since many classic car components are discontinued. The better shape the classic vehicle is in, the more likely it is that your project will turn a profit.Related Article: Best Practices for Classic Auto Interior Restoration
Don’t overpay for the vehicle. Since the car you purchase will likely need work, make sure you take that into consideration when negotiating a fair price. Valuation tools like Hagerty’s classic car valuation tool will come in handy here. This is also when you’ll want to determine the finished project’s price when you’re ready to sell. Subtract the price you would pay to purchase the project car from the excellent condition value, which is what you will sell the car for when you’ve completed restoration. This is the amount you have to put into restoration without losing money on your investment. Ideally, your restoration will cost less than this amount. Finally, you will need to estimate the approximate cost of repairs. Get quotes on paint jobs, engine repairs, interior restoration, and any missing parts you may need. Inflate your final repairs estimate by about 20% to account for surprises that may pop up along the way. After you’ve completed your research and found a classic car that will make you a profit, you can then go ahead and purchase the vehicle.Restore Your Classic Car
You have your classic car project ready to go. By doing as much of the work yourself, you can save a lot on repair costs. Classic car restoration can be broken down into 10 steps: 1. Take your classic car apart. Disassemble the vehicle, taking care to keep track of all the bolts, screws, clips, and other salvageable components. Label parts as you remove them so you know what they are and where they go. Remove the exterior trim, as well as the light assemblies. This is the point when you will take out the engine, transmission, glass, and interior components such as the carpet, headliner, seats and the dashboard. Make note of what you can reuse, and what you will need to replace. The value of your classic car is often determined by how close to original it is. Now is the time to order any replacement parts. Work with reputable suppliers and manufacturers for the most factory accurate parts. 2. Repair body damage and rust. Rusty spots can be cut out, and new panels will be welded in as needed. Large dents need a new panel, while smaller dents can be pulled out or filled with body filler. 3. Complete the car’s paint work.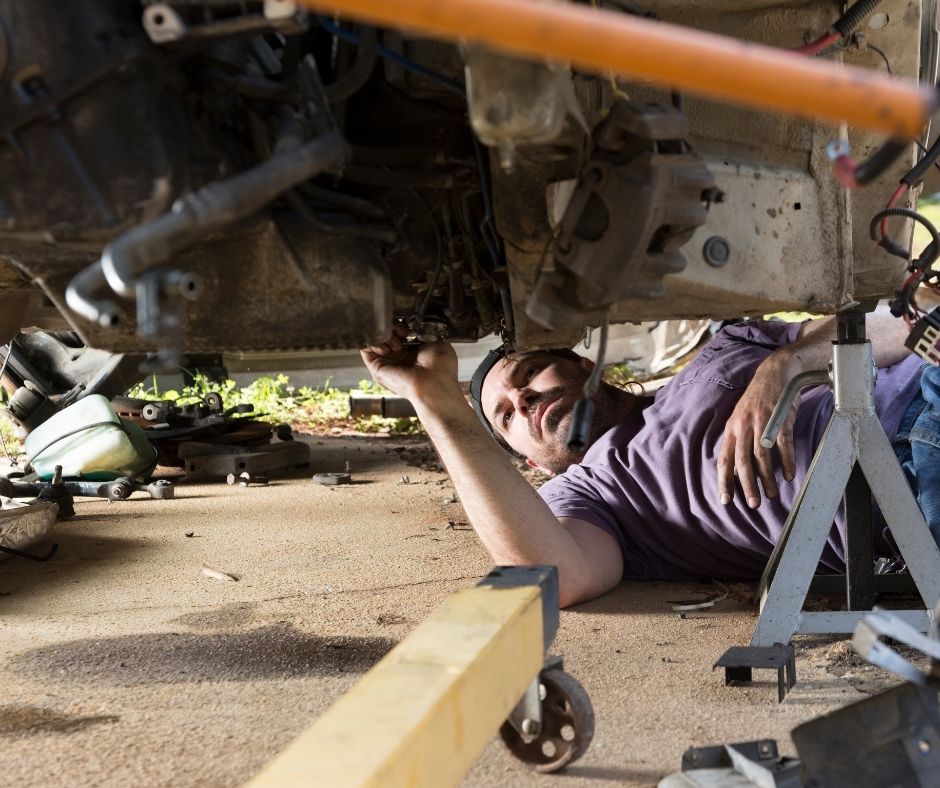 This step is usually best left to the professionals at a body shop,, unless you have extensive experience with painting cars. For the best results, the car should be completely disassembled. Spray each part separately, from the frame to the doors and other removable parts. 4. Get a rolling chassis set up. At this point, install the brakes, wheel knuckles, suspension and rear differential, plus a set of tires and rims. This will allow you to move the car frame around freely as you do work on it. 5. Reassemble the engine and transmission. Make sure the transmission and engine have been painted in a way that compliments the car. When you’ve rebuilt the engine, you can then install that and the transmission onto your rolling chassis. 6. Reassemble the car’s body onto your rolling chassis. Being cautious not to scratch your new paint job, install the passenger compartment first. Next, add the doors, hood, and the lid of the trunk. 7. Route your car’s electrical systems. This includes lighting, ignition, audio, and any other electrical components. Add grommets wherever you route the wiring to protect the wires from damage.
 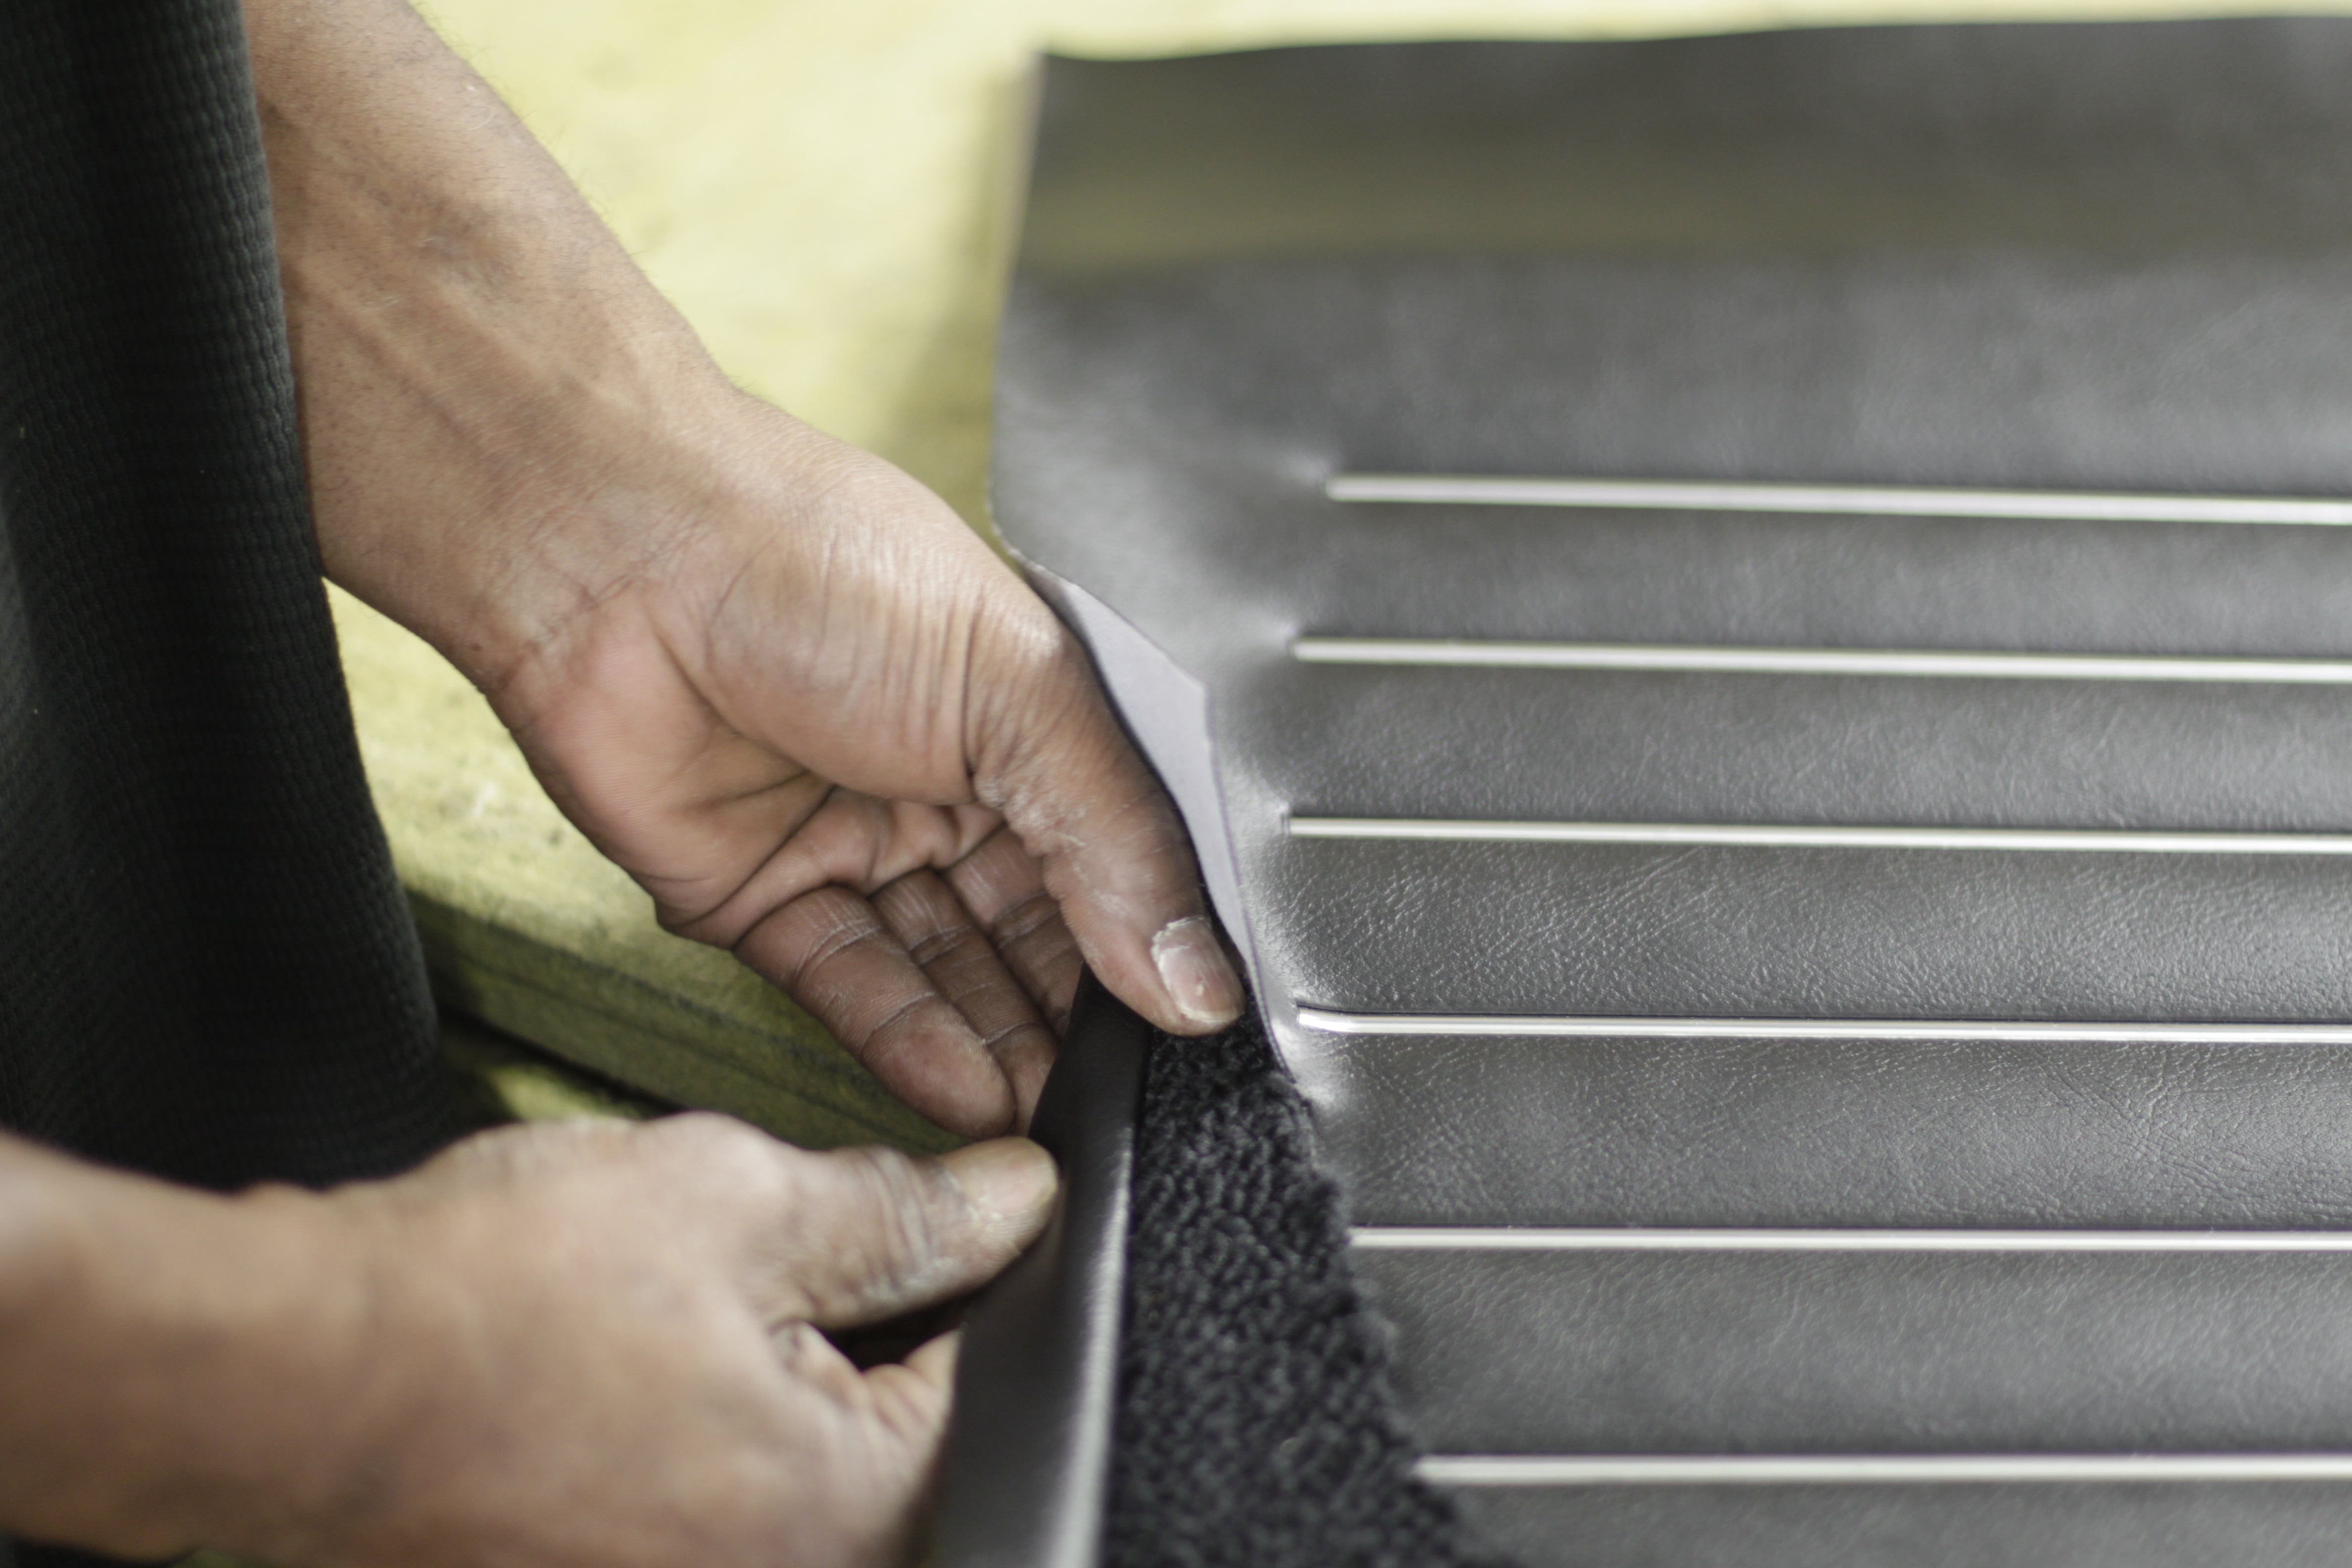 8. Install the interior components, such as the seats and door panels. A great looking interior will improve your car’s final appearance and increase your sale price. Source your interior components from a trusted and experienced supplier. Again, performing interior work yourself can save money, and there are many do-it-yourself guides and videos available for free online. 9. Install exterior parts. If the chrome trim was in good shape, put it back on and polish it. Otherwise, replace it with new trim. Add the lights, bumpers, exhaust, and door handles. 10. Take the car for a test spin.
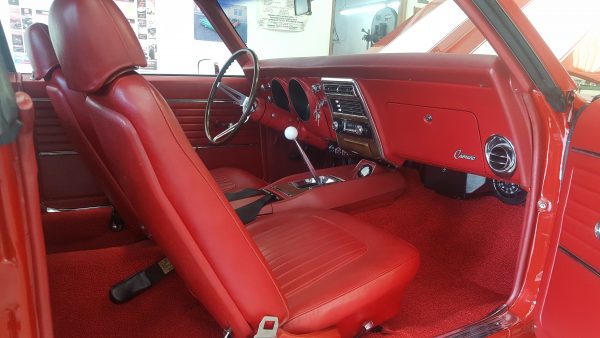 When you’ve completed your classic car restoration project, turn the engine on. Make sure electrical components, from the radio to the power windows, are all functioning as they should. Go for a test drive somewhere your car won’t be vulnerable to potential damage. Listen for any engine issues. If your inspection reveals any issues, make sure to address them before you get the car on the Market.